
Can you really clean a stainless steel sink without scratching it? Absolutely! Learning how to clean a stainless steel kitchen sink easily is key to keeping your kitchen looking its best. Even the most diligent home chef can face the challenge of a dull, spotted, or even slightly rusted sink. This guide will walk you through everything you need to know to achieve that coveted sparkle and shine.
Your stainless steel sink is a workhorse, handling everything from greasy pans to acidic lemon peels. Over time, this constant use can lead to water spots, mineral deposits, food stains, and even stubborn rust. But don’t worry, restoring its gleam is simpler than you might think. We’ll cover the best cleaner for stainless steel sink options, delve into homemade stainless steel sink cleaner recipes, and share essential stainless steel sink cleaning tips to make the process effortless.
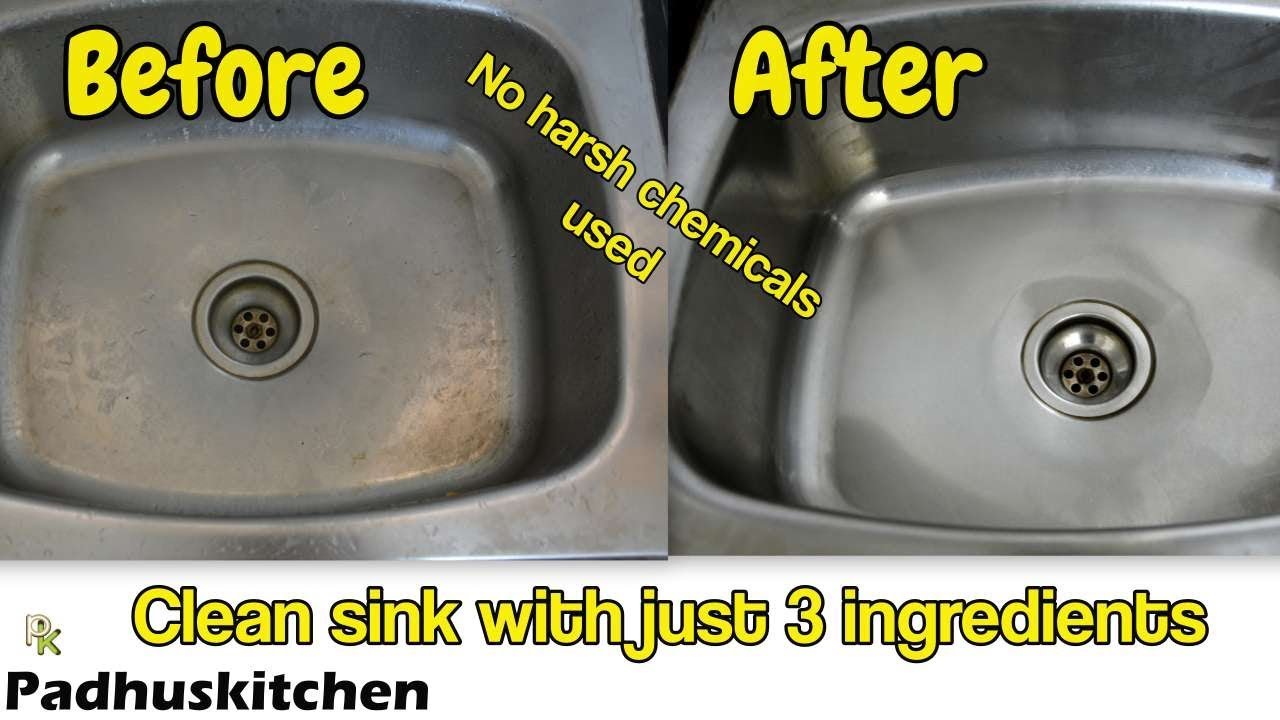
Image Source: i.ytimg.com
Preparing Your Stainless Steel Sink for Cleaning
Before you grab any cleaning supplies, it’s crucial to prep your sink properly. This ensures a more effective clean and prevents any accidental damage.
Clearing the Area
- Remove all dishes and utensils: Empty your sink completely. This gives you full access to all surfaces.
- Clear countertops around the sink: Move any bottles, sponges, or dish racks that might get in the way or get wet.
Initial Rinse
- Warm water flush: Give the sink a good rinse with warm water. This will help dislodge any loose food particles and prepare the surface for cleaning.
- Wipe down with a soft cloth: Use a damp, soft microfiber cloth to wipe down any obvious debris. This simple step can make a big difference.
Everyday Cleaning for a Gleaming Sink
Maintaining a clean sink doesn’t always require a deep dive. Regular, simple cleaning is the best way to prevent stainless steel sink stains and keep it looking pristine.
Daily Wipe-Down
The most effective way to keep your stainless steel sink looking great is to give it a quick wipe-down after each use, or at least once a day.
- Use a soft cloth or sponge: After washing dishes, rinse away any food scraps.
- Dry the sink: Use a dry, soft cloth (microfiber is ideal) to wipe down the entire sink basin, including the faucet and drain area. This simple act is the best defense against water spots and mineral buildup.
Mild Soap and Water
For general cleaning, mild dish soap is often all you need.
- Apply mild dish soap: Put a few drops of mild dish soap onto a damp, soft sponge or microfiber cloth.
- Wipe in the direction of the grain: Stainless steel has a grain, much like wood. Always wipe in the direction of this grain to avoid unsightly scratches and to enhance the shine.
- Rinse thoroughly: Use warm water to rinse away all soap residue.
- Dry with a soft cloth: Again, drying is key to preventing water spots and streaks.
Tackling Tougher Stains and Marks
Sometimes, daily cleaning isn’t enough. You’ll encounter water spots, stubborn grime, and perhaps even rust. Here’s how to deal with them.
How to Remove Water Spots Stainless Steel Sink
Water spots are mineral deposits left behind when water evaporates. They are a common nuisance.
Method 1: White Vinegar
White vinegar is a fantastic natural cleaner due to its acidity, which helps break down mineral deposits.
- Prepare a vinegar solution: Mix equal parts white vinegar and water in a spray bottle.
- Spray the spots: Generously spray the solution onto the water spots.
- Let it sit: Allow the vinegar solution to sit for about 5-10 minutes. For stubborn spots, you might need a little longer.
- Gently scrub: Use a soft sponge or microfiber cloth to gently scrub the affected areas, always moving with the grain.
- Rinse and dry: Rinse thoroughly with warm water and dry immediately with a soft cloth to prevent new spots from forming.
Method 2: Baking Soda Paste
Baking soda is a mild abrasive that can help lift water spots without scratching.
- Make a paste: Mix baking soda with a little water to form a thick paste.
- Apply the paste: Spread the paste over the water spots.
- Gentle scrub: Use a soft sponge or cloth to gently rub the paste into the spots, following the grain.
- Rinse and dry: Rinse well with warm water and dry with a soft cloth.
How to Clean Rust From Stainless Steel Sink
Rust stains can be particularly frustrating on stainless steel. The good news is that they can be removed with the right approach.
Method 1: Baking Soda
Baking soda is often effective for light rust.
- Create a thick paste: Mix baking soda with water until it forms a paste.
- Apply to rust: Cover the rust stain with the paste.
- Let it sit: Allow the paste to sit for at least 15-20 minutes.
- Scrub gently: Use a soft-bristled brush or a non-abrasive sponge to gently scrub the rust away, working with the grain.
- Rinse and dry: Rinse thoroughly with warm water and dry the sink completely.
Method 2: Lemon and Salt
The acidity of lemon juice combined with the abrasive quality of salt can tackle rust.
- Sprinkle salt: Liberally sprinkle salt over the rust stain.
- Add lemon juice: Squeeze fresh lemon juice over the salt until it’s well saturated.
- Let it soak: Let this mixture sit for at least 30 minutes, or even longer for tougher stains.
- Scrub: Use the rind of the lemon as a scrubber, or a soft sponge, to gently work the salt and lemon juice into the rust. Always follow the grain.
- Rinse and dry: Rinse thoroughly and dry the sink completely.
Method 3: Commercial Rust Removers (Use with Caution)
If homemade remedies don’t work, you can consider a commercial stainless steel rust remover.
- Read instructions carefully: Always follow the product’s instructions to the letter.
- Test in an inconspicuous area: Before applying to the entire stain, test on a small, hidden spot.
- Ventilation: Ensure good ventilation when using chemical cleaners.
- Rinse thoroughly: Make sure to rinse all residue from the sink.
Important Note on Rust: If your sink is constantly developing rust, it might indicate a problem with the steel itself or the water supply. Consider consulting a plumber if the issue persists.
Removing Scuff Marks and Minor Scratches
Sometimes, metal utensils or abrasive sponges can leave behind scuff marks or light scratches.
- Use a non-abrasive cleaner: A paste made from baking soda and water is excellent for this.
- Gentle application: Apply the paste with a soft cloth and rub in the direction of the grain. The mild abrasiveness will help lift the scuff mark.
- Polish: For deeper scuffs, you might need to gently polish.
How to Polish Stainless Steel Sink for That Extra Shine
Polishing is the secret to that truly showroom-worthy gleam. It not only makes your sink look fantastic but also adds a protective layer.
Method 1: Flour Power
This might sound unusual, but flour is surprisingly effective for polishing.
- Ensure the sink is clean and dry: Start with a completely dry sink.
- Sprinkle flour: Lightly coat the entire sink basin with flour.
- Buff with a soft cloth: Use a clean, soft microfiber cloth to buff the flour into the sink, following the grain. You’ll notice the flour start to absorb any residual moisture and begin to polish the surface.
- Wipe away excess flour: Once buffed, use a dry cloth to wipe away all the flour.
- Final polish: Give it a final polish with a clean, dry cloth for a brilliant shine.
Method 2: Specialized Stainless Steel Polish
There are many excellent commercial stainless steel polishes available.
- Choose a reputable brand: Look for polishes specifically designed for stainless steel appliances and sinks.
- Apply sparingly: Apply a small amount to a soft cloth.
- Rub in the direction of the grain: This is crucial for an even finish.
- Buff to a shine: Use a separate clean, dry cloth to buff the surface to a high shine.
Method 3: Olive Oil or Mineral Oil
A tiny amount of oil can bring out a beautiful shine and help repel water.
- Apply a tiny amount: Put just a few drops of olive oil or mineral oil onto a clean, soft cloth.
- Wipe in the direction of the grain: Gently spread the oil across the sink surface.
- Buff: Use another clean, dry cloth to buff the surface until it shines. This will help create a barrier against water spots.
Homemade Stainless Steel Sink Cleaner Recipes
Why buy expensive cleaners when you can make your own effective and eco-friendly options?
All-Purpose Cleaner
-
Ingredients:
- 1 cup warm water
- 1 cup white vinegar
- 1 tablespoon mild dish soap
- Optional: 5-10 drops of essential oil (like lemon or lavender for scent)
-
Instructions:
- Combine all ingredients in a spray bottle.
- Shake well before each use.
- Spray onto the sink surface, let sit for a few minutes for tougher grime, then wipe with a soft cloth and rinse.
- Dry thoroughly.
Baking Soda & Dish Soap Paste (Great for Scrubbing)
-
Ingredients:
- ½ cup baking soda
- 2-3 tablespoons mild dish soap (enough to form a paste)
-
Instructions:
- Mix baking soda and dish soap in a small bowl until a thick paste forms.
- Apply the paste to your sink using a soft sponge or cloth.
- Gently scrub in the direction of the grain.
- Rinse thoroughly with warm water.
- Dry completely with a soft cloth.
Lemon & Baking Soda Paste (For Extra Brightening and Deodorizing)
-
Ingredients:
- ½ cup baking soda
- Juice of half a lemon
- 1 tablespoon water (if needed to adjust consistency)
-
Instructions:
- Mix baking soda and lemon juice in a small bowl. Add water if the paste is too thick.
- Apply the paste to the sink and let it sit for 5-10 minutes.
- Gently scrub with a soft sponge or cloth, following the grain.
- Rinse thoroughly with warm water.
- Dry the sink completely.
Cleaning Stainless Steel Sink Without Scratching
This is perhaps the most crucial aspect of stainless steel sink care. The wrong tools or methods can quickly ruin the finish.
What to Use
- Soft microfiber cloths: These are your best friends. They are absorbent, non-abrasive, and great for both cleaning and drying.
- Soft sponges: Opt for sponges labeled “non-scratch” or specifically for delicate surfaces.
- Soft-bristled brushes: Useful for getting into corners or around the drain, but ensure they are soft.
- Baking soda: A fantastic mild abrasive.
- White vinegar: Excellent for dissolving mineral deposits.
- Mild dish soap: Your go-to for everyday cleaning.
What to Avoid
- Steel wool pads: These will definitely scratch and damage the finish.
- Abrasive scouring pads: Avoid green scrubby pads or anything that feels rough.
- Harsh chemicals: Bleach, ammonia, or oven cleaners can damage the protective layer of stainless steel and cause discoloration or pitting.
- Abrasive powders (unless it’s baking soda): Many common household scouring powders are too gritty.
- Scrubbing against the grain: Always work in the direction of the steel’s natural grain.
How to Shine Stainless Steel Sink
Achieving that brilliant shine involves a combination of proper cleaning and polishing.
The Polishing Routine
- Clean thoroughly: Ensure all food debris, grease, and grime are removed.
- Dry completely: A dry surface is essential for polishing.
- Apply polish: Use your chosen polishing method (flour, commercial polish, or a tiny bit of oil).
- Buff, buff, buff: The more you buff with a clean, soft cloth, following the grain, the more you’ll enhance the shine.
Deep Clean Stainless Steel Sink
When your sink needs more than a quick wipe, a deep clean is in order. This will tackle accumulated grime and restore its original luster.
Step-by-Step Deep Clean
- Empty and rinse: Remove everything from the sink and give it a thorough rinse.
- Apply baking soda paste: Cover the entire sink basin, including the sides and around the drain, with a thick paste of baking soda and water.
- Let it sit: Allow the paste to sit for at least 15-20 minutes to loosen grime.
- Scrub gently: Use a damp, soft sponge or cloth to scrub the sink in the direction of the grain. Pay special attention to corners and the drain area. For tougher spots, a soft-bristled brush can be used carefully.
- Address stubborn spots: For any remaining water spots, apply the white vinegar solution and let it sit before scrubbing again. For rust, use the recommended rust removal methods.
- Rinse thoroughly: Rinse the entire sink with warm water to remove all baking soda and vinegar residue. Ensure no trace of cleaning agents remains.
- Polish: Once the sink is clean and completely dry, perform your chosen polishing routine (flour, commercial polish, or oil) to bring out the shine.
- Dry: Give it a final buff with a clean, dry microfiber cloth.
Prevent Stainless Steel Sink Stains
Prevention is always better than cure! Implementing a few habits can dramatically reduce the frequency of deep cleaning.
Daily Habits for Prevention
- Dry the sink after each use: This is the single most effective way to prevent water spots and mineral buildup. Keep a dedicated microfiber drying cloth handy.
- Rinse away food particles immediately: Don’t let food residue sit in the sink, especially acidic or salty items, as they can etch the surface over time.
- Avoid leaving wet sponges or cloths in the sink: These can trap moisture and create rust or mold. Hang them to dry or store them elsewhere.
- Use a sink grid or mat: A sink grid or mat at the bottom of the sink can protect it from scratches caused by heavy pots and pans. Ensure it’s easy to clean and doesn’t trap debris.
Occasional Prevention Measures
- Periodic polish: A monthly polish with flour or a dedicated stainless steel polish can help maintain the protective layer and make future cleaning easier.
- Mineral deposit control: If you have hard water, consider a regular spray of diluted vinegar (as described for water spots) to prevent buildup.
Frequently Asked Questions About Stainless Steel Sink Cleaning
Q1: Can I use bleach on my stainless steel sink?
A: It is generally not recommended to use bleach on stainless steel sinks. While it can disinfect, bleach can react with the chromium oxide layer on stainless steel, leading to pitting, staining, or dulling of the finish. Stick to milder cleaners like vinegar, baking soda, or mild dish soap.
Q2: How often should I deep clean my stainless steel sink?
A: This depends on your usage and water quality. For most households, a thorough deep clean once a month should be sufficient to maintain its shine. If you have very hard water or heavy usage, you might need to do it more frequently.
Q3: What’s the best way to clean the drain area?
A: The drain area can accumulate food debris and gunk. Use a soft-bristled brush (like an old toothbrush) with your chosen cleaner (baking soda paste or vinegar solution) to scrub around the drain opening and the strainer. Rinse thoroughly afterward.
Q4: My sink looks dull. How can I restore its shine?
A: Dullness is usually due to a lack of polishing or a buildup of mineral deposits. First, ensure the sink is spotlessly clean and dry. Then, try a polishing method like using flour, a commercial stainless steel polish, or a tiny amount of olive oil. Buffing with a clean microfiber cloth is key to bringing back the shine.
Q5: Can I use a stainless steel cleaner on my faucet as well?
A: Yes, most stainless steel cleaners and polishing techniques are safe for stainless steel faucets. However, always check the specific product instructions and test in an inconspicuous area first, especially if your faucet has a different finish (like brushed nickel or chrome).
By following these detailed steps and tips, you can easily maintain a sparkling and hygienic stainless steel kitchen sink, transforming it from a dull surface into a gleaming centerpiece of your kitchen. Remember, consistency with daily cleaning and the right approach to tougher stains will ensure your sink stays beautiful for years to come.