
A kitchen faucet aerator is a small but mighty part of your plumbing that can significantly impact your water flow. You might be wondering, “What is a faucet aerator?” and “How does it work?” Simply put, a faucet aerator is a small screen or device fitted to the end of your faucet spout. Its primary job is to mix air with water, creating a softer, more controlled stream. This aerator also helps reduce water usage and prevent splashing. If your faucet’s water pressure seems low, or the stream is sputtering, a clogged aerator is often the culprit. Thankfully, faucet aerator cleaning is a straightforward DIY task that can restore your faucet’s performance quickly and easily.
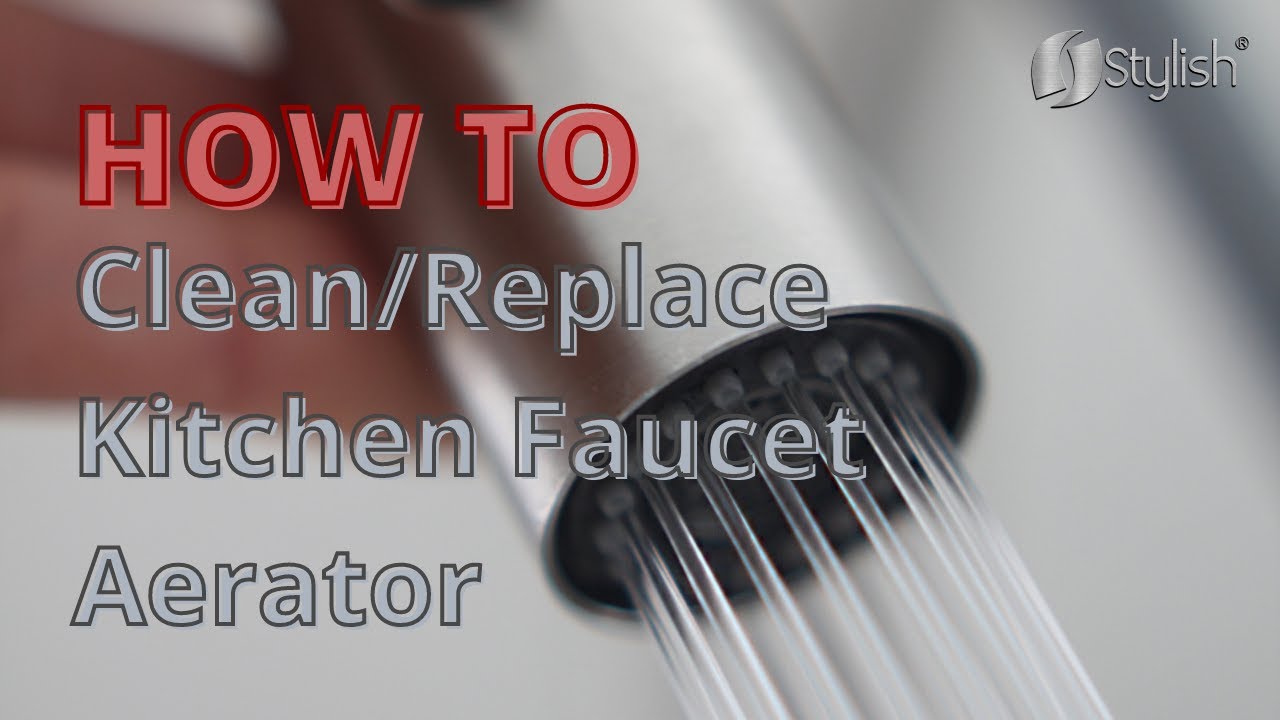
Image Source: i.ytimg.com
Why Your Faucet Needs a Little TLC
Over time, the tiny holes in your faucet aerator can become blocked. This is usually due to mineral buildup from hard water, sediment, or even small debris that makes its way through your pipes. This blockage, often referred to as a clogged faucet aerator, restricts water flow. You might notice a weaker stream, uneven spray, or even dripping. Addressing this mineral buildup faucet issue is a key part of kitchen faucet maintenance. Ignoring it can lead to frustration and, in some cases, might even mask underlying plumbing problems. Keeping your aerator clean ensures you get the best water pressure and a smooth, consistent stream every time you turn on the tap.
Gathering Your Cleaning Supplies
Before you start, having the right tools makes the job much smoother. You don’t need specialized equipment; most items can be found around the house.
Here’s what you’ll need for effective faucet aerator cleaning:
- Adjustable Wrench or Pliers: To help you remove faucet aerator if it’s on tight. It’s best to use pliers with a soft cloth or tape wrapped around the jaws to prevent scratching the faucet finish.
- Small Bowl or Container: To soak the aerator parts.
- Old Toothbrush or Small Cleaning Brush: For scrubbing away stubborn residue.
- White Vinegar: The star player for dissolving mineral deposits.
- Soft Cloth or Paper Towels: For drying and wiping.
- Optional: Penetrating Oil (like WD-40): If the aerator is extremely difficult to unscrew aerator.
Step-by-Step Guide: How to Clean Your Faucet Aerator
Cleaning your faucet aerator is a simple process. Follow these steps to get your faucet flowing freely again.
Step 1: Identify and Prepare Your Faucet
First, locate your faucet’s aerator. It’s the part at the very tip of the spout where the water comes out. You’ll want to have a bowl or bucket ready to catch any drips. It’s also a good idea to place a towel in the sink basin to catch any dropped parts and prevent damage.
Step 2: How to Remove Faucet Aerator
This is often the trickiest part for some. You need to remove faucet aerator carefully.
- Check for a Retaining Ring: Some aerators have a decorative cap or a retaining ring that needs to be removed first. Gently try to twist this cap counter-clockwise.
- Unscrewing the Aerator: Most aerators can be unscrewed directly.
- Try to turn the aerator counter-clockwise with your fingers first.
- If it’s too tight, use your adjustable wrench or pliers. Wrap a cloth around the aerator’s base before gripping it with the tool to avoid scratching. Turn it slowly and steadily counter-clockwise. You are essentially learning how to unscrew aerator by applying gentle, consistent force.
- If you encounter significant resistance and are worried about damaging the faucet, a small amount of penetrating oil applied to the threads and allowed to sit for a few minutes can help.
Once it starts to loosen, you should be able to unscrew it the rest of the way by hand.
Step 3: Disassemble the Aerator (If Necessary)
Once removed, you might see that the aerator is made up of several small parts, including screens, a washer, and a flow-restricting disc. Lay these parts out carefully on a towel in the order you removed them so you can reassemble them correctly. Many aerators are just a single unit, but some are more complex.
Step 4: The Vinegar Soak
This is where the magic happens for tackling mineral buildup faucet.
- Prepare the Soak: Place all the disassembled aerator parts into your small bowl or container.
- Add Vinegar: Pour enough white vinegar into the container to fully submerge all the parts.
- Soaking Time: Let the aerator parts soak for at least 30 minutes. For heavily soiled aerators with significant mineral buildup faucet, you can leave them to soak for a few hours or even overnight. Vinegar is excellent for dissolving calcium and lime deposits, which are common causes of a clogged faucet aerator.
Step 5: Scrubbing and Rinsing
After the soak, it’s time to get rid of any loosened debris.
- Scrub: Use an old toothbrush or a small cleaning brush to gently scrub away any remaining grime or sediment from the aerator parts. Pay close attention to the small holes and any crevices. This step is crucial for thoroughly cleaning the cleaning faucet nozzle area.
- Rinse: Thoroughly rinse all the parts under running water to wash away the vinegar and loosened debris. Make sure no vinegar residue remains.
Step 6: Reassembly and Reinstallation
Now that your aerator is sparkling clean, it’s time to put it back together and reattach it to your faucet.
- Reassemble: Carefully put the aerator parts back together in the correct order. Ensure the washer is properly seated.
- Reattach: Screw the reassembled aerator back onto the faucet spout. Hand-tighten it first.
- Tighten (If Needed): If it feels loose, use your wrench or pliers (again, with a cloth to protect the finish) to give it a gentle snug. Be careful not to overtighten, as this can damage the aerator or the faucet.
Step 7: Test the Water Flow
Turn on your faucet and check the water stream. You should notice a significant improvement in water pressure and a smoother, more consistent flow. The best way to clean aerator is to do this regularly.
Troubleshooting Common Aerator Issues
Sometimes, even after cleaning, you might still have problems. Here’s how to handle them:
Persistent Clogging
If your aerator quickly becomes clogged faucet aerator again, it could indicate very hard water or that the aerator is nearing the end of its life. In this case, you might need to clean it more frequently or consider if it’s time to replace faucet aerator.
Damaged Aerator Parts
If you notice that a screen is torn, a washer is cracked, or parts are deformed during disassembly, it’s best to replace faucet aerator. These small parts are usually inexpensive and readily available at hardware stores.
Difficulty Removing or Reinstalling
If you can’t remove faucet aerator or are struggling to get it back on, double-check that you are turning it the correct way (counter-clockwise to loosen, clockwise to tighten). Ensure no debris is blocking the threads. If it’s cross-threaded, carefully try to back it out and try again.
Advanced Cleaning Techniques and Tips
For those who deal with particularly stubborn mineral deposits or want to ensure the most thorough clean, consider these advanced tips.
The Baking Soda Paste Method
While vinegar is excellent, sometimes a paste can provide a more abrasive, yet still gentle, scrubbing action.
- Create the Paste: Mix baking soda with a small amount of water to form a thick paste.
- Apply: Apply the paste to the aerator parts, especially around the screen and any affected areas.
- Scrub: Use your toothbrush to scrub the paste into the mineral deposits.
- Soak (Optional): You can then place the paste-covered parts into a vinegar soak for added cleaning power.
- Rinse Thoroughly: As always, rinse all components completely.
Using a Small Wire Brush
For very hard mineral buildup that the toothbrush can’t handle, a small brass wire brush can be used very gently to dislodge stubborn deposits. Be extremely careful not to scratch or damage the aerator’s components, especially the screen. This is a last resort for heavily clogged faucet aerator situations.
Flushing the Faucet Spout
Before reinstalling the clean aerator, it’s a good idea to run water through the faucet spout for a minute. This can help flush out any loose sediment or debris that might have been dislodged from the faucet itself during the aerator removal process. This ensures the newly cleaned aerator doesn’t immediately get clogged again by lurking debris within the faucet.
The Importance of Regular Kitchen Faucet Maintenance
Regular kitchen faucet maintenance not only keeps your faucet looking good but also ensures it functions efficiently. Cleaning the aerator is a simple yet vital part of this.
Frequency of Cleaning
How often should you clean your faucet aerator?
- General Recommendation: Every 3 to 6 months.
- Hard Water Areas: If you live in an area with hard water, you might need to clean it every 1 to 2 months to combat mineral buildup faucet more effectively.
- Noticeable Issues: Clean it immediately if you experience reduced water pressure, sputtering, or an uneven stream.
Benefits of a Clean Aerator
- Improved Water Pressure: Restores the expected water flow.
- Reduced Water Consumption: Aerators are designed to reduce water usage, and a clean one performs this function optimally.
- Prevents Splashing: A proper aerated stream is less likely to splash, keeping your countertops drier.
- Extended Faucet Lifespan: Regular maintenance prevents strain on the faucet and its components.
When to Replace Your Faucet Aerator
While cleaning is effective, there comes a time when you might need to replace faucet aerator.
Consider replacement if:
- Damage: The aerator parts are cracked, warped, or the screen is torn.
- Persistent Clogging: Despite regular cleaning, the aerator frequently gets clogged.
- Corrosion: Significant corrosion is visible on the aerator parts.
- Outdated Model: You have an older faucet with an aerator that doesn’t meet current water-saving standards. You can often upgrade to a more efficient model.
Choosing a Replacement Aerator
When you replace faucet aerator, ensure you get the correct size and thread type. Aerators are typically categorized by:
- Male vs. Female Threads: Male threads screw into the faucet spout; female threads have an internal thread that screws onto an external thread on the spout.
- Size: Common sizes include 15/16-inch male and 55/64-inch female, but there are many others. You can often find a size chart online or measure your old aerator.
- Flow Rate: Measured in gallons per minute (GPM). Standard kitchen faucets typically have a GPM of 2.2, but many water-saving models are 1.8 GPM or lower.
You can often find a matching aerator by taking the old one to a hardware store or by checking the manufacturer’s specifications for your faucet.
Frequently Asked Questions (FAQ)
Q1: What if my faucet aerator is stuck and I can’t unscrew it?
A1: Try using pliers with a cloth to grip it, turning counter-clockwise. If still stuck, apply a penetrating oil like WD-40 to the threads, let it sit for a few minutes, and try again. Be patient and avoid excessive force that could damage the faucet.
Q2: Can I use a stronger cleaner than vinegar?
A2: While stronger cleaners exist, vinegar is generally the best way to clean aerator for mineral buildup because it’s effective, safe, and readily available. Harsh chemicals can damage the aerator’s components or the faucet’s finish. Always stick to gentler methods first.
Q3: How do I know if I have hard water?
A3: Hard water contains high levels of minerals like calcium and magnesium. Signs include soap scum buildup, spots on glassware after washing, and a quicker accumulation of mineral buildup faucet on fixtures. You can also purchase a water hardness test kit.
Q4: My faucet is still sputtering after cleaning the aerator. What else could be wrong?
A4: If cleaning the aerator doesn’t fix the issue, the problem might lie deeper within the faucet. It could be a worn-out washer, a faulty cartridge, or debris in the supply lines. You may need to consult a plumber or look into more in-depth faucet repair guides.
Q5: Can I clean the faucet nozzle without removing the aerator?
A5: You can wipe down the exterior of the cleaning faucet nozzle and the aerator with a damp cloth. However, to effectively clean the internal components and remove mineral deposits that cause blockages, you must remove the aerator itself.
By following these simple steps, you can easily clean your kitchen faucet aerator and restore its optimal performance. Regular kitchen faucet maintenance, starting with a clean aerator, ensures a more pleasant and efficient experience in your kitchen.