
Can you finish unfinished kitchen cabinets yourself, and is it worth the effort? Yes, you absolutely can finish unfinished kitchen cabinets yourself, and it’s a fantastic way to save money and achieve a custom look for your kitchen. This guide will walk you through everything you need to know for successful DIY cabinet finishing.
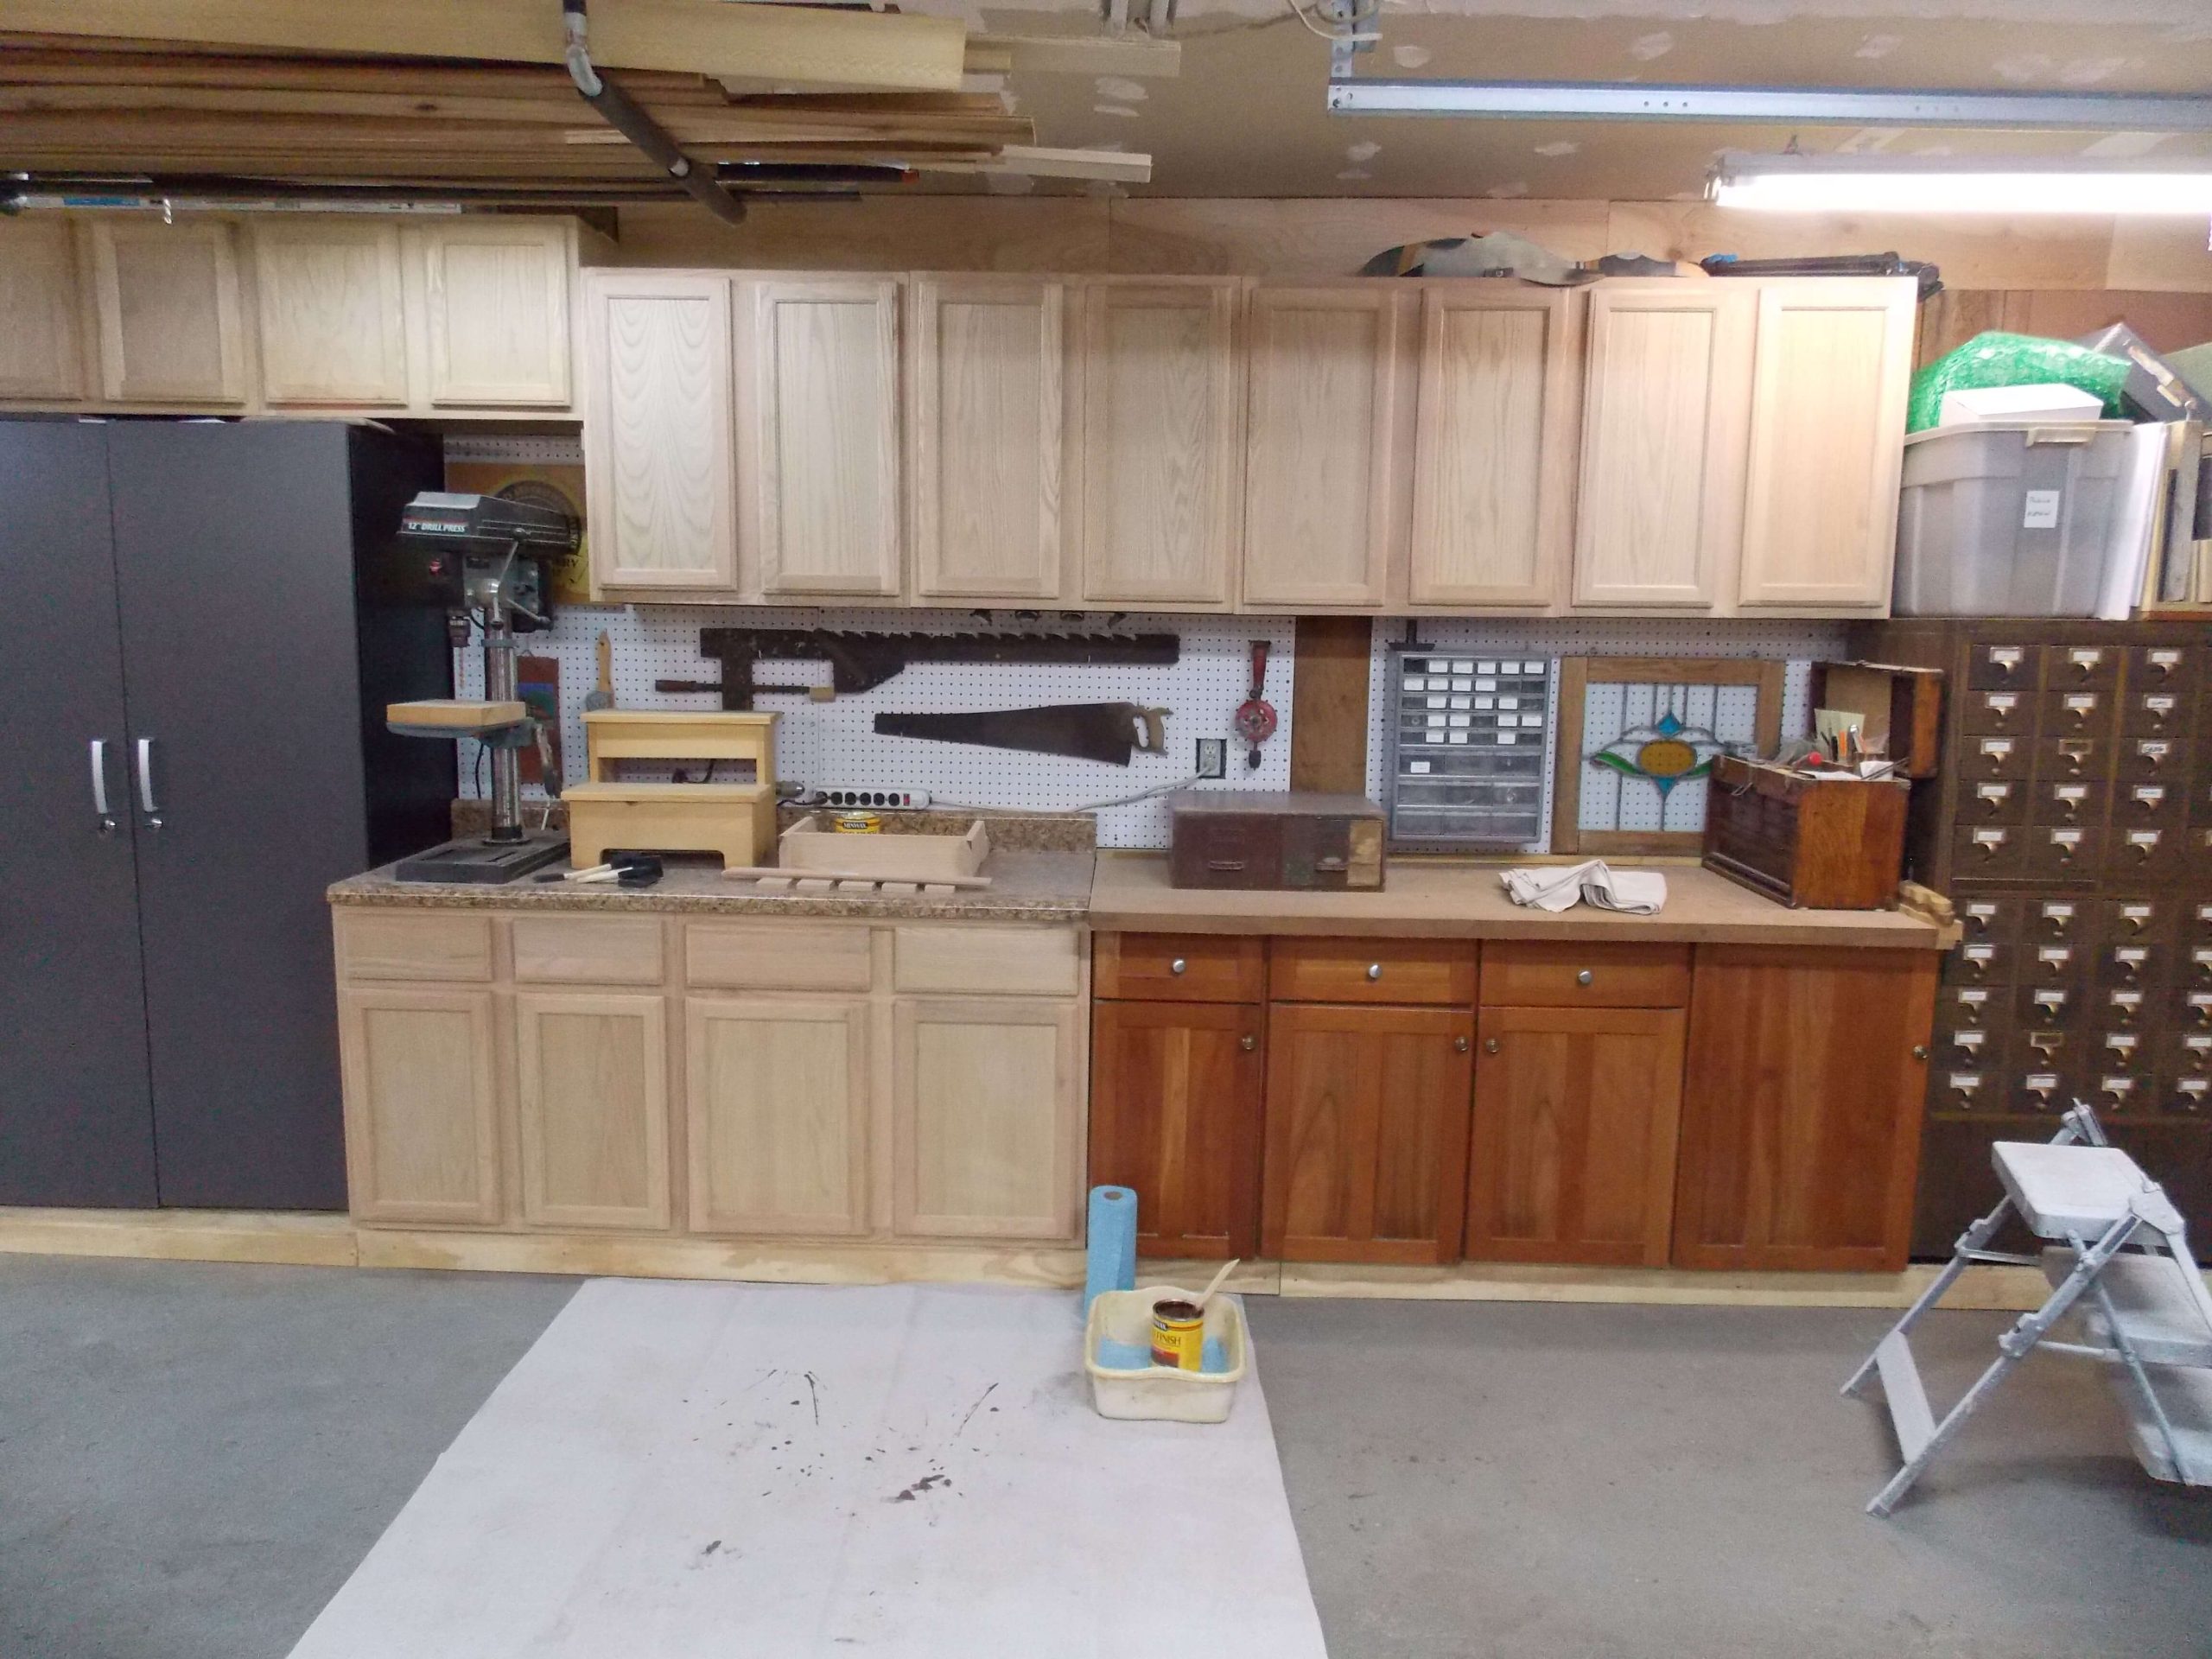
Image Source: www.highlandsdesigns.com
Preparing Your Cabinets: The Foundation for Success
Before you even think about stain or paint, cabinet prep is the most crucial step for a professional-looking finish. Skipping this stage is like building a house on sand – it won’t last.
Why Cabinet Prep Matters
Proper prep ensures that your chosen finish adheres well, lasts longer, and looks smooth and even. It addresses any imperfections in the wood, making the final result far more appealing. Think of it as getting your canvas ready before you start painting.
Essential Tools and Materials for Prep
Gathering the right supplies upfront will make the process smoother. Here’s a checklist:
- Screwdriver/Drill: To remove cabinet doors and hardware.
- Painter’s Tape: For masking off areas you don’t want to finish.
- Drop Cloths or Plastic Sheeting: To protect your floors and surrounding surfaces.
- Medium-Grit Sandpaper (120-150 grit): For initial smoothing.
- Fine-Grit Sandpaper (180-220 grit): For final smoothing.
- Sanding Block or Electric Sander: For easier and more even sanding.
- Tack Cloths: To remove dust after sanding.
- Degreaser or Mild Soap and Water: To clean the cabinets.
- Wood Filler: For any dents or gouges.
- Primer (if painting): Essential for good paint adhesion and coverage.
- Gloves and Safety Glasses: For your protection.
- Dust Mask or Respirator: Especially important when sanding.
Cleaning Unfinished Cabinets
Even though they’re “unfinished,” cabinets can have dust, oils, or sap from the manufacturing process.
- Dust Removal: Wipe down all surfaces with a dry cloth or a vacuum cleaner with a brush attachment.
- Degreasing: Mix a solution of mild dish soap and warm water. Dampen a clean cloth (don’t saturate it) and wipe down all surfaces. Rinse the cloth frequently and wipe again with a damp, clean cloth to remove soap residue.
- Allow to Dry: Let the cabinets air dry completely. You can speed this up with a fan or a hairdryer on a cool setting.
Addressing Imperfections: Wood Filler and Repairs
Examine your unfinished cabinets closely for any dents, gouges, or scratches.
- Minor Dents/Scratches: For small imperfections, wood filler is your friend.
- Apply a small amount of wood filler with a putty knife.
- Press it firmly into the imperfection.
- Wipe away any excess immediately with a damp cloth.
- Allow the filler to dry completely according to the product’s instructions.
- Deeper Gouges: For larger issues, you might need multiple applications of wood filler or even a wood epoxy. Follow the product directions carefully.
The Art of Cabinet Sanding
Cabinet sanding is where you create a perfectly smooth surface for your finish to adhere to. This step is non-negotiable.
Why Sanding is Key
Sanding does two main things:
1. Smooths the Surface: It removes any roughness, splinters, or manufacturing marks.
2. Creates Tooth: It slightly roughens the wood surface, giving your primer or stain something to grip onto.
Sanding Techniques for Unfinished Cabinets
- Start with Medium Grit: Begin with 120 or 150-grit sandpaper. This will quickly smooth out any rough spots and remove minor imperfections.
- Use a sanding block for flat surfaces like doors and cabinet faces. This helps you apply even pressure and avoid creating dips.
- For edges and corners, use the sandpaper by hand or a small sanding sponge.
- Always sand with the grain of the wood. Sanding against the grain will create visible scratches that are difficult to remove.
- Progress to Fine Grit: Once you’ve gone over everything with the medium grit, switch to 180 or 220-grit sandpaper. This step refines the surface, making it incredibly smooth.
- Repeat the process, ensuring you’re still sanding with the grain.
- Pay extra attention to areas where you used wood filler; ensure they are flush with the surrounding wood.
- Detail Sanding: Use fine-grit sandpaper wrapped around a small block or a sanding sponge for intricate areas, drawer fronts, and edges.
Dust Management During Sanding
Sanding creates a lot of dust. It’s crucial to manage it to prevent it from interfering with your finish.
- Use a Dust Mask/Respirator: Protect your lungs.
- Work in a Ventilated Area: Open windows or use fans.
- Vacuum Regularly: Use a shop vacuum with a brush attachment to suck up dust as you go.
Final Dust Removal: The Tack Cloth is Your Best Friend
After sanding, the cabinets will be covered in fine dust.
- Vacuum Again: Thoroughly vacuum all surfaces, paying attention to crevices and edges.
- Tack Cloth: This is where the tack cloth comes in. It’s a sticky cloth designed to pick up the last traces of dust.
- Gently wipe down all surfaces with the tack cloth. Do not press hard, as you don’t want to leave behind any residue from the cloth itself.
- Use a fresh tack cloth if the current one becomes visibly dirty.
Choosing Your Finish: Stain, Paint, or Natural Beauty?
Now that your cabinets are prepped, it’s time to decide on the look. You have several popular options for DIY cabinet finishing:
1. Cabinet Staining
Staining enhances the natural beauty of wood. It adds color while allowing the wood grain to show through. This is a great choice if you have beautiful wood species like oak, maple, or cherry.
Types of Wood Stain
- Oil-Based Stain: Traditional, penetrates deeply, offers rich color, and is durable. It requires mineral spirits for cleanup.
- Water-Based Stain: Dries faster, has lower VOCs (Volatile Organic Compounds), and is easier to clean up with water. It might not penetrate as deeply as oil-based stains.
- Gel Stain: Thicker than traditional stains, sits more on the surface, and is excellent for difficult woods or for achieving a darker, more uniform color without blotching.
How to Stain Cabinets
- Test Your Stain: Always test your stain color on a scrap piece of the same wood or an inconspicuous area of a cabinet door.
- Apply Stain:
- For Penetrating Stains (Oil/Water-Based):
- Apply stain liberally with a good-quality synthetic bristle brush or a lint-free cloth.
- Work in sections, applying stain with the grain.
- Let the stain penetrate for the time recommended on the product label (usually 5-15 minutes).
- Wipe off the excess stain with the grain using a clean, lint-free cloth. The longer you leave it on, the darker the color.
- For Gel Stain:
- Apply a thin, even coat with a brush or foam applicator, working with the grain.
- Gel stain doesn’t require wiping off the excess in the same way. It builds color with multiple thin coats. Allow each coat to dry before applying the next.
- For Penetrating Stains (Oil/Water-Based):
- Allow to Dry: Ensure the stain is completely dry. This can take 24-48 hours or more, depending on the type of stain and humidity.
2. Cabinet Painting
Painting offers a vast array of color options and can completely transform the look of your kitchen.
Types of Paint for Cabinets
- Latex Paint (Acrylic): Modern latex paints, especially those formulated for cabinets or trim, are durable and easy to use. Look for “cabinet paint” or “enamel.”
- Oil-Based Enamel Paint: Very durable and creates a hard, smooth finish, but it has stronger fumes and requires mineral spirits for cleanup.
- Chalk Paint/Mineral Paint: Offers a matte, vintage look and often requires less prep, but may need a durable topcoat for kitchen environments.
How to Paint Cabinets
- Apply Primer: This is a crucial step for paint.
- Use a high-quality stain-blocking primer, especially if your unfinished wood has knots or might bleed through the paint.
- Apply one or two thin, even coats with a brush or roller.
- Allow the primer to dry completely and lightly sand with 220-grit sandpaper. Wipe with a tack cloth.
- Apply Paint:
- Method: You can use a high-quality synthetic bristle brush for edges and details, and a foam roller for flat surfaces. For the most professional finish, consider spraying your cabinets in a well-ventilated area or spray booth.
- Thin Coats: Apply paint in thin, even coats. Avoid overloading your brush or roller.
- With the Grain: Always paint with the grain of the wood.
- Multiple Coats: Most cabinet painting projects require at least two, often three, coats of paint for full coverage and durability.
- Drying Time: Allow adequate drying time between coats as recommended by the paint manufacturer. Lightly sand with 220-grit sandpaper between coats if necessary, and always wipe with a tack cloth.
3. Natural Wood Finish
If the unfinished wood itself is beautiful, you might opt for a clear finish that protects the wood and enhances its natural color.
Types of Clear Finishes
- Polyurethane (Water-Based or Oil-Based): Very durable and provides excellent protection against moisture and wear. Oil-based polyurethane offers a warmer, amber tone, while water-based stays clear.
- Varnish: Similar to polyurethane, offering strong protection.
- Lacquer: Dries very quickly and can be applied in thin coats, but it’s less durable than polyurethane and requires good ventilation and spray application.
- Tung Oil or Linseed Oil: These are “penetrating oils” that soak into the wood, offering a more natural look and feel. They enhance the wood’s natural color but offer less protection than film finishes like polyurethane and require more frequent reapplication.
How to Apply a Natural Wood Finish
- Smooth Surface is Key: Ensure your cabinet sanding is exceptionally thorough, going up to 220 or even 320-grit for a super-smooth feel.
- Apply Finish:
- Use a high-quality synthetic bristle brush for clear finishes like polyurethane or varnish.
- Apply in thin, even coats, working with the grain.
- Avoid overworking the finish, which can cause brush marks.
- For a truly smooth finish, light sanding with very fine-grit sandpaper (320-400 grit) between coats is recommended. Always wipe with a tack cloth after sanding.
- Multiple coats are usually needed for durability. Follow product instructions for drying and recoating times.
Sealing Your Cabinets: The Protective Layer
Regardless of whether you stain or paint, applying a protective topcoat is essential for cabinet sealing. This layer guards against moisture, grease, stains, and everyday wear and tear.
Why Sealing is Non-Negotiable
Your kitchen is a high-traffic, high-moisture area. Without a good sealant, your beautiful finish will quickly become dull, stained, or damaged. The sealant acts as a barrier, making your cabinets easier to clean and prolonging their lifespan.
Choosing the Right Sealant
- For Stained Cabinets:
- Polyurethane: The most popular choice. Water-based is clear, while oil-based adds a slight amber hue. Both are very durable.
- Varnish: Also a good option for durability.
- Pre-Stain Sealers: Some stains benefit from a pre-sealer to prevent blotching, especially on soft woods like pine.
- For Painted Cabinets:
- Clear Polyurethane: To protect the paint and add durability. A matte or satin finish polyurethane can maintain the look of the paint without adding excessive sheen.
- Polycrylic: A water-based product that is less likely to yellow over time compared to some oil-based polyurethanes, making it ideal for lighter paint colors.
- For Natural Wood Finishes:
- More coats of oil: If you used penetrating oils, you’ll apply multiple coats until the wood is saturated.
- Polyurethane/Varnish: As mentioned, these add a protective film.
Application Tips for Sealants
- Ensure Dryness: Make sure the stain or paint is completely dry before applying the sealant.
- Thin Coats are Best: Apply thin, even coats with a high-quality synthetic brush. Avoid applying too much, as this can lead to drips and an uneven finish.
- Work with the Grain: Always brush or wipe with the grain of the wood.
- Light Sanding Between Coats: For the smoothest finish, lightly sand with very fine-grit sandpaper (220-320 grit) after each coat has dried. Clean with a tack cloth.
- Number of Coats: Most projects require at least two to three coats of sealant for adequate protection. Check the product label for specific recommendations.
- Curing Time: Sealants, especially polyurethane, have a “cure time” that is longer than their “dry time.” Avoid heavy use or cleaning for the duration recommended on the product label (often 7-30 days) to allow the finish to harden fully.
Finishing Touches: Reassembly and Cabinet Care
You’ve put in the work, and your cabinets are looking fantastic! Now for the final steps.
Reattaching Hardware and Doors
- Hardware: Clean or replace your cabinet hardware. Install new knobs or pulls using the pre-drilled holes.
- Doors and Drawers: Reattach the cabinet doors and drawer fronts. It might be helpful to have a second person assist you with holding doors in place while you screw them back on.
- Adjust Hinges: Fine-tune your hinges to ensure doors hang straight and close properly.
Essential Cabinet Care Tips
To keep your newly finished cabinets looking their best for years to come, follow these cabinet care tips:
- Gentle Cleaning: Use a soft, damp cloth to wipe down cabinets regularly. For tougher grease or grime, use a mild dish soap and water solution, followed by a clean damp cloth to rinse, and then dry with a soft cloth. Avoid abrasive cleaners, scouring pads, or harsh chemicals that can damage the finish.
- Wipe Spills Immediately: Kitchens are prone to spills. Wipe up any water, food, or liquid spills as soon as they happen to prevent them from staining or damaging the finish.
- Avoid Excessive Moisture: Do not use overly wet cloths. Excessive moisture can seep into the wood and cause swelling or damage to the finish.
- Maintain Humidity Levels: Extreme fluctuations in humidity can affect wood. Using a humidifier in dry seasons and a dehumidifier in humid seasons can help protect your cabinets.
- Protect from Heat: Avoid placing hot appliances or cookware directly on cabinet surfaces. Use trivets or hot pads.
- Regular Inspections: Periodically check your cabinets for any signs of wear or damage. Address minor issues promptly before they become bigger problems.
Common Problems and How to Solve Them
Even with careful work, you might encounter a few bumps in the road.
Blotching with Stain
- Problem: Uneven absorption of stain, leading to dark and light patches.
- Solution:
- Use a pre-stain wood conditioner, especially on soft woods like pine or maple.
- Apply a pre-stain sealer.
- Use a gel stain, which is less prone to blotching.
- Apply stain with a brush and wipe off excess evenly and quickly.
Brush Marks or Roller Marks
- Problem: Visible marks left by application tools.
- Solution:
- Use high-quality brushes and rollers.
- Apply thin, even coats.
- For paint, consider spraying if possible.
- For brush marks, try a very light sanding with 320-grit sandpaper between coats and wipe with a tack cloth.
Fisheyes in the Finish
- Problem: Small, circular defects that look like tiny craters.
- Solution:
- This is often caused by silicone contamination. Ensure all tools and surfaces are free from silicone-based products (like some waxes or polishes).
- Thoroughly clean surfaces and ensure no contaminants are present before applying finish.
- Sand out the fisheyes and reapply the finish, ensuring proper surface prep.
Runs and Drips
- Problem: Finish pooling and running down surfaces.
- Solution:
- Apply thinner, more even coats.
- Avoid overloading your brush or roller.
- If you see a drip forming, immediately brush or wipe it out gently before it sets.
- Once dry, you can often sand down the drip with fine-grit sandpaper and reapply the finish to that area.
Frequently Asked Questions (FAQ)
Q1: Do I need to sand unfinished cabinets before staining or painting?
A1: Yes, absolutely. Sanding is crucial for cabinet prep to ensure your finish adheres properly and to create a smooth surface. It provides “tooth” for stains and paints to grip onto.
Q2: What is the best finish for kitchen cabinets?
A2: For durability and protection in a kitchen environment, a high-quality polyurethane or a durable cabinet-grade enamel paint is generally recommended. The “best” finish also depends on your desired look (e.g., natural wood finish vs. painted).
Q3: Can I stain over existing cabinet finish?
A3: While you can sometimes stain over an existing finish, it’s best practice to strip or sand down to the bare wood for a consistent and durable result, especially when starting with unfinished cabinets.
Q4: How many coats of stain or paint should I apply?
A4: This varies depending on the product and the desired color intensity. Typically, two to three coats of stain or paint are needed for good coverage. Always follow the manufacturer’s recommendations on the product label.
Q5: How long do I need to wait between coats of stain or paint?
A5: Always check the product label. Drying times vary significantly between oil-based and water-based products, as well as by brand and environmental conditions. Allow adequate drying time as specified.
Q6: Can I use a regular house paint for cabinets?
A6: While some latex paints can work, it’s best to use paints specifically formulated for cabinets or trim. These are typically enamels or acrylics designed for harder wear and a smoother finish.
Q7: How do I clean my finished cabinets?
A7: Use a soft, damp cloth with mild soap and water. Wipe dry immediately. Avoid abrasive cleaners or excessive moisture. Proper cabinet care tips will keep your finish looking good.
Q8: What is cabinet refinishing?
A8: Cabinet refinishing is the process of restoring or updating the appearance of cabinets. This can involve stripping old finishes, sanding, repairing, and then reapplying a new stain, paint, or clear coat. Finishing unfinished cabinets is a form of wood cabinet restoration.
By following these detailed steps and tips, you can successfully transform your unfinished kitchen cabinets into a beautiful and functional centerpiece for your home. Enjoy your DIY cabinet finishing project!