
Image Source: www.cravingsomecreativity.com
How To Add Crown Molding to Kitchen Cabinets: Easy DIY Cabinet Upgrade for an Elegant Kitchen
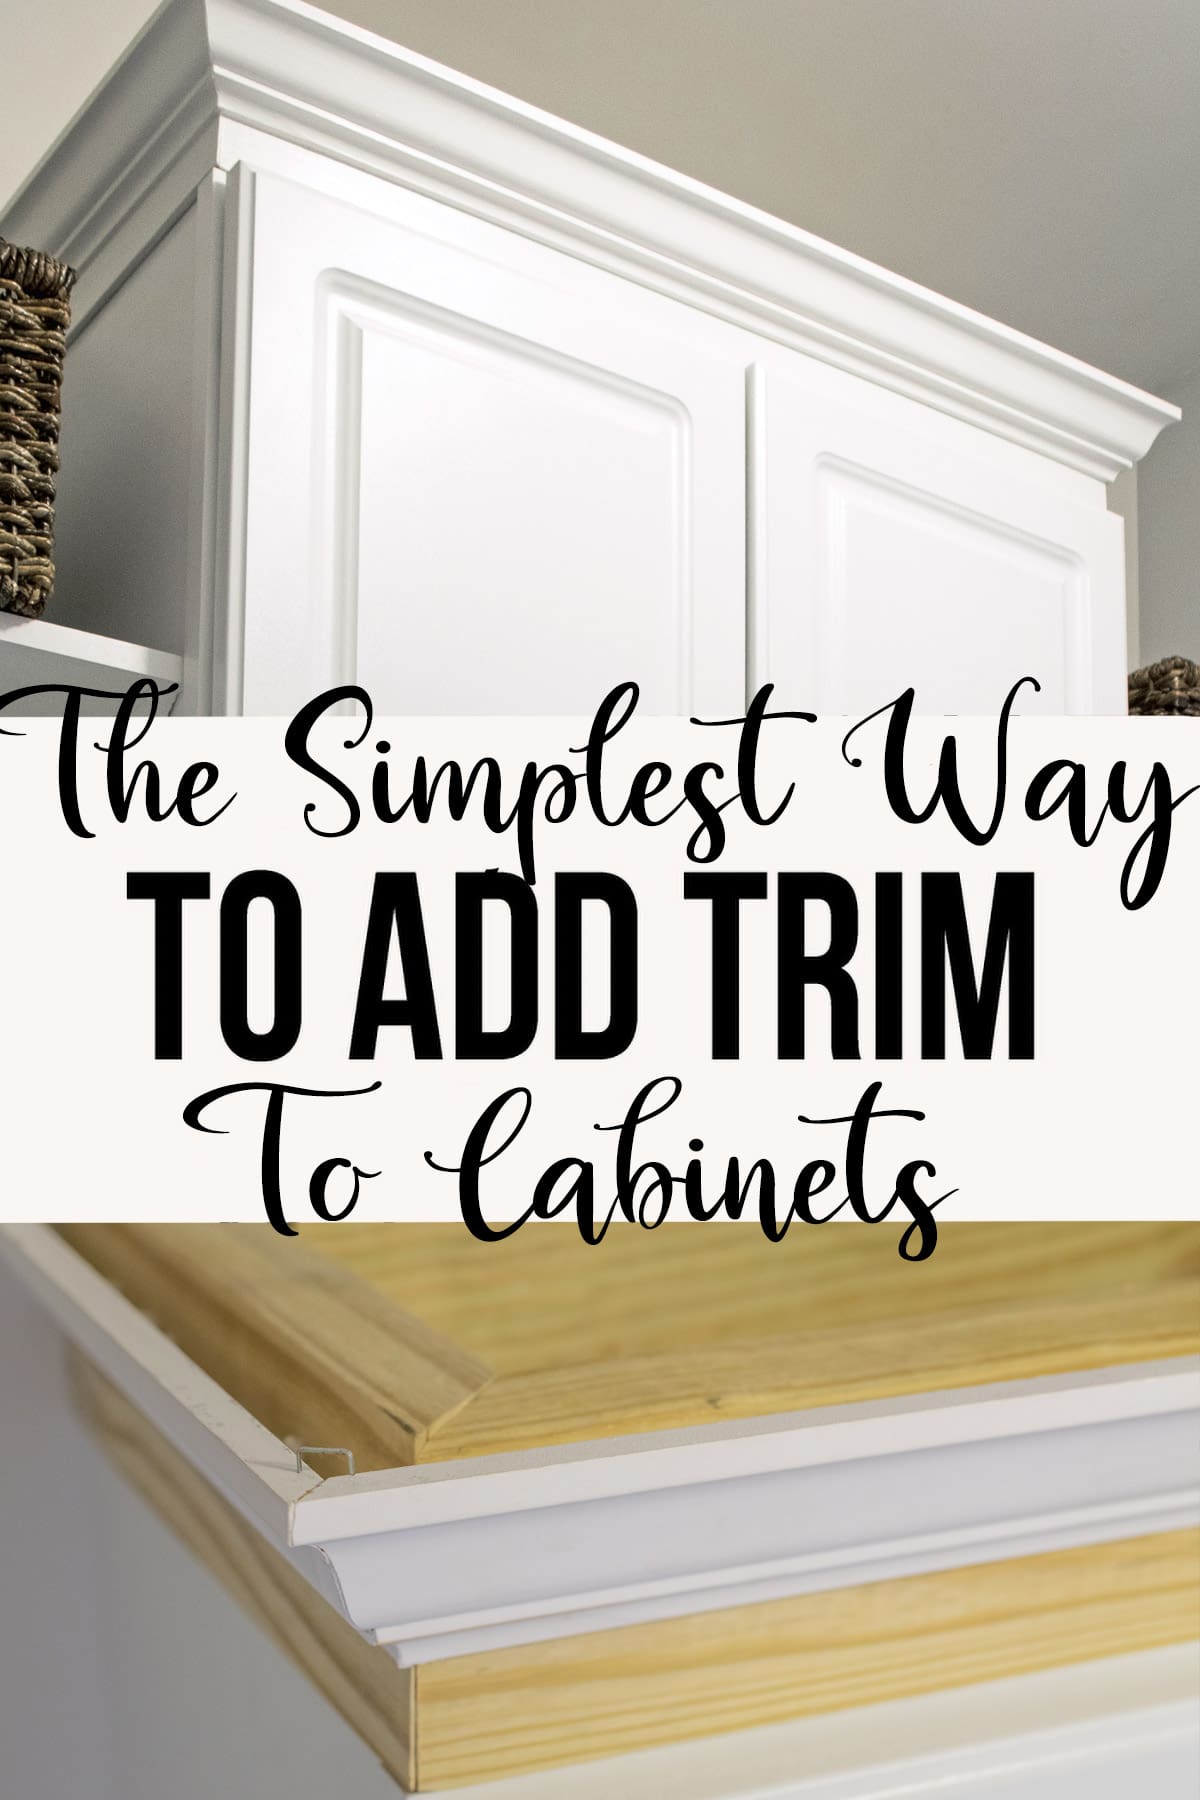
Can you add crown molding to kitchen cabinets? Yes, absolutely! Adding crown molding to kitchen cabinets is a fantastic DIY project that can dramatically elevate the look of your kitchen, giving it a more custom and elegant feel. This guide will walk you through everything you need to know about kitchen cabinet molding installation, from choosing the right cabinet molding styles to the actual cabinet door trim installation and finishing touches for applying molding to kitchen cabinets.
Why Add Crown Molding to Your Kitchen Cabinets?
Crown molding, also known as a cornice or cabinet top trim, is more than just a decorative element. It serves several purposes that contribute to a polished and cohesive kitchen design:
- Aesthetic Appeal: It bridges the gap between your cabinets and the ceiling, creating a finished look that hides unsightly gaps and uneven lines. This transition makes your cabinets appear taller and more substantial.
- Customization: Crown molding allows you to express your personal style. Whether you prefer a simple, modern look or something more ornate, there’s a cabinet molding style to match.
- Increased Perceived Value: A well-done crown molding installation can make your kitchen appear more luxurious and can even increase your home’s resale value.
- Hiding Imperfections: It’s an excellent way to cover minor imperfections in the ceiling or the tops of your cabinets.
- Visual Cohesion: It helps to tie the entire kitchen design together, creating a sense of completeness.
Choosing the Right Crown Molding for Your Kitchen Cabinets
Selecting the perfect crown molding for kitchen cabinets is the first crucial step. Consider these factors:
Material Options
- Wood: The most traditional and versatile option.
- Pine: Affordable and easy to work with, but can be prone to dents. It’s best for painted cabinets.
- Poplar: A good balance of cost and quality, takes paint well, and is relatively hard.
- Maple/Oak/Cherry: Hardwoods offer durability and a beautiful grain. They are ideal for stained cabinets or for a more premium painted finish. They are also more resistant to damage.
- MDF (Medium-Density Fiberboard): Less expensive than wood and very stable, making it excellent for painted finishes. However, it can swell if exposed to moisture and isn’t suitable for staining.
- Polyurethane/Polystyrene: These synthetic materials are lightweight, moisture-resistant, and often come pre-primed. They can mimic the look of wood and are a great choice for kitchens where humidity might be a concern. They are also easy to cut and install.
Style and Profile
The profile of the crown molding significantly impacts the overall look. Here are some popular cabinet molding styles:
- Simple Beaded: Features a small, repeating bead pattern along the edge. Offers a subtle touch of detail.
- Rope Molding: Mimics the appearance of a twisted rope, adding a classic and decorative touch.
- Ogee: An “S”-shaped profile that provides a graceful and elegant look.
- Dentil: Characterized by a series of small, tooth-like blocks. Offers a more traditional and ornate appearance.
- Crown Molding (Traditional): Typically features a combination of curves and angles for a sophisticated look.
Tip: When choosing, hold a sample of the molding up to your cabinets. The scale of the molding should be proportionate to the size of your cabinets and the height of your ceiling. Overly large molding can overwhelm smaller cabinets, while small molding might look lost on tall cabinets.
Sizing Considerations
- Width: This refers to the overall height of the molding when installed. For standard 8-foot ceilings, 3- to 5-inch wide molding is usually appropriate for upper cabinets. For higher ceilings, you can go with wider profiles (5-7 inches or more).
- Projection: This is how far the molding extends from the cabinet face. It should complement the cabinet design without overpowering it.
Planning Your Crown Molding Project
Before you start cutting and installing, careful planning is essential for a successful DIY cabinet crown molding project.
Measure Your Cabinets
- Measure the length of the top of each cabinet run.
- Measure the depth of your cabinets if the molding will wrap around the sides or front.
- Account for any upper cabinet corner cabinets or specialized pieces.
Calculate Material Needs
- Add at least 10% to your total linear footage for cuts, mistakes, and miters.
- It’s always better to have a little extra than to run short.
Gather Your Tools and Materials
You’ll need a good selection of tools for kitchen cabinet molding installation.
Essential Tools:
- Miter Saw: Crucial for making accurate angled cuts (miters) for corners. A compound miter saw is ideal as it can bevel (tilt) the blade for inside and outside corner joints.
- Tape Measure: For accurate measurements.
- Pencil: For marking.
- Stud Finder: To locate cabinet mounting screws or ceiling joists if you need extra support.
- Safety Glasses: Always wear eye protection when cutting or drilling.
- Gloves: To protect your hands.
- Level: To ensure your molding is installed straight.
- Caulking Gun: For applying caulk.
- Putty Knife or Spackle Knife: For applying wood filler and putty.
- Clamps: To hold molding in place while glue dries or while you nail it.
- Hammer or Brad Nailer: For securing the molding. A brad nailer makes the process much faster and provides a cleaner finish.
- Drill/Driver: For pre-drilling holes and driving screws if necessary.
- Sandpaper: For smoothing rough edges or filler.
- Paint Brushes/Rollers: For finishing.
Materials:
- Crown Molding: As chosen in the previous step.
- Wood Glue: For reinforcing miter joints.
- Finishing Nails or Brad Nails: Sized appropriately for your molding thickness.
- Wood Filler or Spackle: For filling nail holes and minor gaps.
- Caulk: Paintable caulk for sealing gaps between the molding and the cabinet or ceiling.
- Primer and Paint/Stain and Sealant: To match your existing cabinets or desired finish.
Step-by-Step Guide to Applying Molding to Kitchen Cabinets
This detailed guide will help you achieve a professional-looking result when adding decorative molding to cabinets.
Step 1: Prepare Your Cabinets
- Clean the Cabinet Tops: Ensure the top surfaces of your cabinets are clean and free of dust, grease, or debris. This will ensure good adhesion for glue and caulk.
- Remove Doors (Optional but Recommended): For easier access and a cleaner finish, consider removing the cabinet doors. Label them if they are not interchangeable.
- Inspect Cabinet Tops: Check for any unevenness or damage. You may need to fill small gaps or sand down any high spots before installing the molding.
Step 2: Cutting Your Crown Molding
This is where your miter saw comes into play. Precise cuts are key to achieving seamless joints.
- Inside Corners: For an inside corner, you’ll cut two pieces of molding at a 45-degree angle. The long point of the miter should point towards the inside corner. Crucially, you need to set your miter saw to cut at 45 degrees, and the molding should be placed upside down and backward on the saw’s base compared to how it will sit on the cabinet. This is known as “springing” the molding.
- Outside Corners: For an outside corner, you’ll also cut two pieces at a 45-degree angle. The long point of the miter will point away from the corner. Again, the molding is placed upside down and backward on the saw.
- Straight Runs: For the sides of cabinets or long runs, you’ll make square (90-degree) cuts at the ends.
- Test Fit: Before permanently attaching, dry-fit your cut pieces to ensure they meet snugly at the corners. Make small adjustments to your miter angles if needed.
Pro Tip for Crown Molding: Many miter saws come with a diagram or instructions on how to cut crown molding. If yours doesn’t, practice on scrap wood first.
Step 3: Attaching the Crown Molding to Cabinet Tops
Now it’s time for how to attach crown molding to cabinet tops.
- Apply Wood Glue: Apply a thin bead of wood glue to the mitered edges of the molding pieces that will join at a corner. This adds significant strength to the joint.
- Position and Secure:
- For upper cabinets, you can often nail directly into the cabinet frame. Aim for the center of the cabinet’s top support rail.
- If the cabinet top isn’t very sturdy or you want extra security, you can nail into the cabinet backing or even into ceiling joists if the molding extends to the wall. Use your stud finder to locate joists.
- Nailing Technique:
- Brad Nailer: This is the easiest method. Position the molding, drive nails at an angle through the face of the molding into the cabinet top or wall support. Aim to place nails about every 12-18 inches.
- Hammer: If using a hammer, pre-drill small pilot holes to prevent splitting the wood, especially with hardwoods. Drive finishing nails at an angle. Use a nail set to sink the nail heads slightly below the surface.
- Use Clamps (Optional but Helpful): Clamps can help hold the molding firmly in place while you nail it, especially in corners.
- Work in Sections: Attach one piece at a time, ensuring it’s level and flush against the cabinet top before moving to the next.
Important Note: When attaching to cabinet tops, aim to hit the solid wood components of the cabinet box, not just the thin particleboard or plywood top if it’s not structural.
Step 4: Installing Molding on Cabinet Sides and Between Cabinets
- Sides: If your cabinets are not against a wall and you want molding on the sides, you’ll treat the side of the cabinet box as a wall. Measure and cut your molding to fit. You can often secure it with brad nails into the cabinet side panel.
- Between Cabinets: If you have a section of cabinet that doesn’t meet a wall, you’ll need to create a return. This is a small piece of molding that turns back on itself at a 45-degree angle, creating a finished end. You’ll cut a miter on the main piece of molding and then a corresponding miter on the small return piece to join them.
Step 5: Filling and Sanding
Once all the molding is installed:
- Fill Nail Holes: Use wood filler or spackle to fill all nail holes and any small gaps. Choose a filler that matches your paint or stain.
- Smooth Joints: Apply filler to any imperfect miter joints.
- Sand: Once the filler is dry, lightly sand the filled areas smooth. You can also lightly sand any rough edges on the molding itself. Use a fine-grit sandpaper (around 150-220 grit).
- Clean: Wipe away all dust with a tack cloth or a slightly damp cloth.
Step 6: Caulking and Finishing
This is the stage where you truly make the kitchen cabinet cornice installation look seamless.
- Caulk Seams: Apply a bead of paintable caulk along any gaps between the molding and the cabinet box, and where the molding meets the ceiling (if applicable). This hides any minor imperfections and creates a smooth, painted-on look. Use a caulk gun for precise application.
- Smooth Caulk: Run a damp finger or a damp cloth over the caulk line to smooth it out. Wipe away excess caulk immediately.
- Prime: If you are painting, apply a coat of primer to the entire molding. This helps the paint adhere better and ensures an even color.
- Paint or Stain: Apply your chosen paint or stain according to the manufacturer’s instructions. You may need two coats for full coverage. Use a high-quality paint brush for smooth application, especially along the edges.
Customization Note: For a truly custom kitchen cabinet molding look, you might consider adding trim pieces to the cabinet doors themselves, such as applied molding or decorative panels, before installing the crown molding. This adds another layer of detail and sophistication.
Frequently Asked Questions (FAQ)
Here are some common questions homeowners have when considering adding decorative molding to cabinets:
Q1: Do I need to remove my cabinets to install crown molding?
A1: No, you do not need to remove your cabinets. Crown molding is typically installed directly onto the existing cabinet structure.
Q2: Can I install crown molding on cabinet doors?
A2: Yes, you can install molding on cabinet doors, but it’s a more advanced technique. This often involves applying thinner trim pieces directly to the door panels for a decorative effect, rather than traditional crown molding. It’s important to consider how the doors will open and if the added trim will interfere with their function.
Q3: What if my cabinets are not flush with the ceiling?
A3: If there’s a gap, you can use molding that is wide enough to bridge the gap. Alternatively, you can add a filler strip (a piece of wood or plywood) to the top of the cabinet to create a flush surface for the molding to attach to.
Q4: How do I handle rounded cabinet corners?
A4: Rounded corners can be tricky. For flexible molding materials like polyurethane, you might be able to bend them into shape. For wood, you may need to use flexible molding or create custom-shaped corner pieces. Some people opt for a simpler trim or skip molding on rounded corners altogether.
Q5: How do I match the new molding to my existing cabinets?
A5: For painted cabinets, paint the new molding to match. For stained cabinets, try to find molding made from the same wood species and use a matching stain. You can also experiment with stain colors on scrap pieces to find the best match.
Q6: Can I use a regular saw to cut crown molding?
A6: While possible, it’s very difficult to get clean and accurate mitered cuts with a hand saw or a standard circular saw. A miter saw is highly recommended for this project to ensure the molding pieces fit together seamlessly at the corners.
Conclusion
Adding crown molding to kitchen cabinets is a rewarding DIY project that can transform the look of your kitchen. By carefully selecting your cabinet molding styles, planning your cuts, and following these installation steps, you can achieve a custom, elegant finish that you’ll be proud of for years to come. The kitchen cabinet cornice installation might seem daunting, but with the right tools and a bit of patience, it’s a very achievable upgrade for any homeowner looking to enhance their kitchen’s charm and value. Enjoy your beautifully upgraded kitchen!