
Image Source: i.ytimg.com
How to Clean KitchenAid Ice Machine: Step-by-Step
Can you clean a KitchenAid ice machine, and what’s the best way to do it? Yes, you can and should clean your KitchenAid ice machine regularly. The best way involves a multi-step process using a cleaning solution, descaling, and replacing filters to ensure optimal performance and ice quality.
Keeping your KitchenAid ice machine clean is vital for producing crisp, clean ice and ensuring your appliance lasts for years. Over time, mineral buildup (scale) and potential bacterial growth can affect both the taste of your ice and the efficiency of the machine. This guide will walk you through the essential KitchenAid ice maker maintenance steps, detailing the Cleaning KitchenAid ice machine process from start to finish. We’ll cover everything you need to know, from choosing the right KitchenAid ice maker cleaning solution to how to descale KitchenAid ice machine units effectively.
Why Regular Cleaning is Crucial
Your KitchenAid ice machine works tirelessly to provide you with refreshing ice. However, the water it uses contains minerals like calcium and magnesium. When water evaporates, these minerals are left behind, forming a hard, white deposit known as scale. This scale can:
- Reduce Ice Production: Clogged water lines and heat transfer surfaces caused by scale can slow down the ice-making process.
- Affect Ice Quality: Scale can lead to cloudy or soft ice, and can even impart an unpleasant taste or odor to your ice.
- Damage the Machine: Over time, heavy scale buildup can strain components, potentially leading to costly repairs.
- Promote Bacterial Growth: Any moist environment can be a breeding ground for bacteria and mold, which is unhygienic and can affect the taste of your ice.
Gathering Your Cleaning Supplies
Before you begin the steps to clean KitchenAid ice maker, ensure you have all the necessary supplies. This will make the process smoother and more efficient.
Essential Supplies:
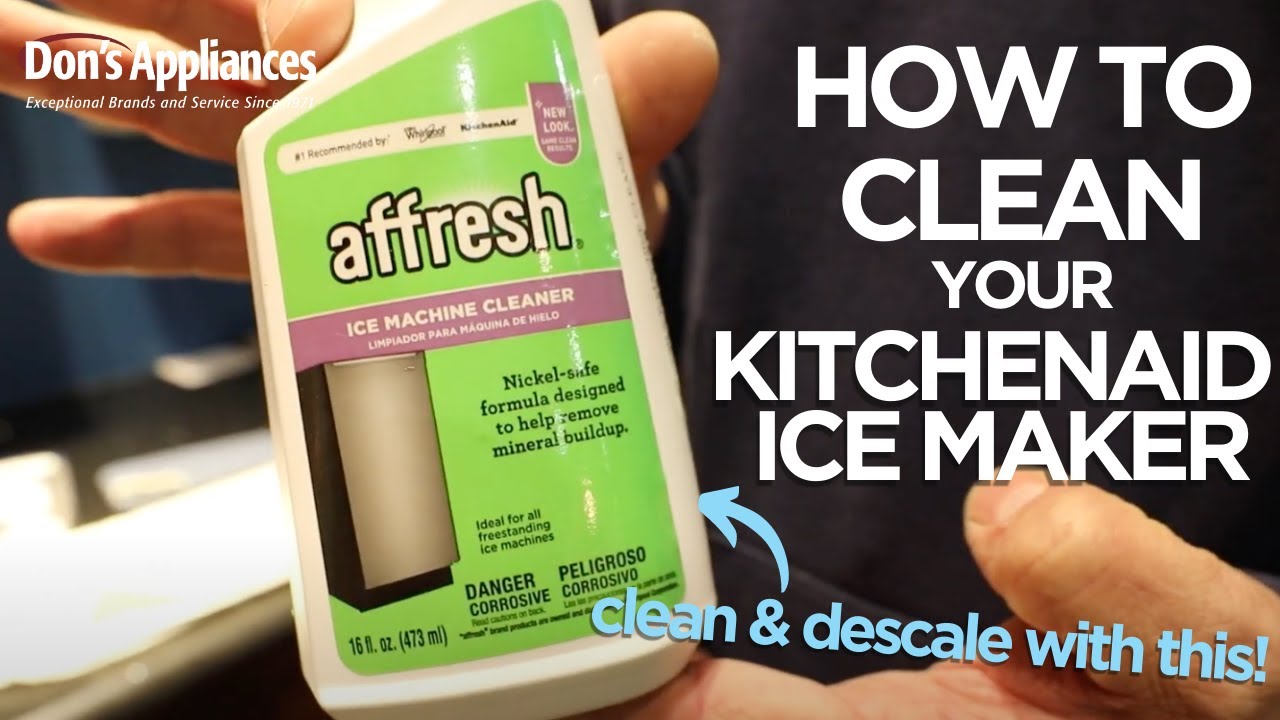
- KitchenAid Ice Machine Cleaning Solution: You can purchase a specific KitchenAid ice machine cleaning kit or use a solution recommended by the manufacturer. A common effective cleaning solution is a mixture of white vinegar and water.
- Clean, Soft Cloths or Sponges: Avoid abrasive materials that could scratch the surfaces.
- Soft Brush: Useful for cleaning nooks and crannies.
- Bucket or Basin: For collecting water and holding cleaning solutions.
- Gloves: To protect your hands.
- Water: For rinsing.
- Optional: Descaling Solution: If your manual specifically recommends a descaler for heavy mineral buildup.
Step-by-Step Guide to Cleaning Your KitchenAid Ice Machine
Follow these detailed steps for a thorough clean. The exact procedure might vary slightly depending on your specific KitchenAid model, so always refer to your owner’s manual for model-specific instructions.
Step 1: Safety First and Preparation
- Disconnect Power: Before you start any cleaning, always unplug the ice machine from the power outlet. Safety is paramount.
- Empty the Ice Bin: Remove all ice from the bin. You can use this ice for drinks immediately if it’s clean, or discard it if you suspect it’s been contaminated.
- Remove Removable Parts: Take out any removable components, such as the ice bin, water dispenser tray, and air filter (if applicable). These parts can usually be washed separately.
Step 2: Cleaning Removable Parts
- Wash by Hand: Most removable parts can be washed in a sink with warm, soapy water. Use a soft cloth or sponge.
- Rinse Thoroughly: Ensure all soap residue is washed away.
- Air Dry: Allow all parts to air dry completely before reassembling them into the machine. This prevents moisture buildup that can lead to mold or mildew.
Step 3: Cleaning the Interior Surfaces
This is where the KitchenAid ice maker cleaning solution comes into play.
- Prepare the Cleaning Solution: Mix one part white vinegar with one part water in a bucket. If your manual recommends a specific KitchenAid ice maker cleaning solution, follow those instructions. For instance, some solutions might be pre-mixed or require a different ratio.
- Wipe Down Interior: Dip a clean cloth into the cleaning solution, wring it out so it’s damp, not dripping, and wipe down all accessible interior surfaces of the ice machine. This includes the ice-making components, the inside of the water reservoir, and the walls of the machine.
- Scrub Stubborn Buildup: For any areas with noticeable mineral deposits or grime, use a soft brush dipped in the cleaning solution to gently scrub them away.
Step 4: Descaling Your KitchenAid Ice Machine
This is a critical part of KitchenAid ice maker maintenance, especially if you have hard water. How to descale KitchenAid ice machine involves a slightly different process than a standard clean.
- Use a Descaling Solution: If your manual recommends a specific descaling solution, use that. Otherwise, the vinegar-water mixture often suffices. For very stubborn scale, a dedicated descaling product designed for ice machines or coffee makers might be necessary.
- Circulate the Solution:
- Fill the water reservoir with the descaling solution or the vinegar-water mixture.
- Plug the machine back in and run a cleaning cycle if your model has one. Consult your manual for how to initiate this.
- If there’s no specific cleaning cycle, you’ll need to manually run the machine to circulate the solution. Turn the machine on and let it run through a cycle or two, allowing the solution to flow through the water lines and ice-making components.
- Allow Soaking Time: For effective descaling, let the solution sit in the machine for about 15-30 minutes (or as recommended by your descaling product). This allows the acid to break down the mineral deposits.
- Discard Solution: After the soaking period, drain the solution from the machine by running it through another cycle or by draining it manually as per your manual’s instructions.
Step 5: Rinsing the Machine
Thorough rinsing is essential to remove any traces of cleaning or descaling solution, ensuring your ice is pure.
- Fill with Fresh Water: Fill the water reservoir with clean, fresh water.
- Run Rinse Cycles: Run several cycles of fresh water through the machine. Again, use the cleaning cycle feature if available, or manually run cycles. Continue until you no longer smell any vinegar or cleaning solution.
- Discard Rinse Water: Make sure to discard the water from each rinse cycle.
Step 6: Cleaning the Exterior
Don’t forget the outside!
- Wipe Down: Use a damp cloth with mild soap and water to clean the exterior surfaces of your KitchenAid ice machine.
- Polish (Optional): For stainless steel models, you can use a stainless steel cleaner and polish to restore shine.
- Dry: Dry the exterior thoroughly with a clean, dry cloth.
Step 7: Reassemble and Replace Filter
- Reassemble: Once all removable parts are dry, carefully put them back into the ice machine.
- KitchenAid Ice Machine Filter Replacement: If your KitchenAid ice machine uses a water filter, this is the ideal time to replace it. A clogged or old filter won’t effectively remove impurities from the water, affecting ice quality and potentially contributing to buildup within the machine. Check your manual for the correct filter type and replacement procedure. Regularly scheduled KitchenAid ice machine filter replacement is a key aspect of preventative maintenance.
Step 8: Final Check and Operation
- Plug In and Turn On: Plug your ice machine back into the power outlet and turn it on.
- Run a Test Cycle: Allow the machine to run a full ice-making cycle to ensure everything is working correctly and that the ice produced is clear and odorless. Discard the first batch of ice produced after cleaning.
Preventing Future Buildup: Preventative Maintenance KitchenAid Ice Machine
Proactive Preventative maintenance KitchenAid ice machine practices can significantly reduce the frequency of deep cleaning and descaling.
- Use Filtered Water: Always use filtered water if possible. This is the single most effective way to reduce mineral buildup. If your model has a water filter, ensure you replace it regularly as per the manufacturer’s recommendations (KitchenAid ice machine filter replacement).
- Regular Wipes: Wipe down the interior and exterior of the ice machine regularly, even between deeper cleans, to prevent dust and minor spills from becoming ingrained.
- Clean the Ice Bin: Wash the ice bin every few weeks with warm, soapy water and dry it thoroughly.
- Run Cycles Regularly: If you don’t use a lot of ice, run the machine periodically to circulate water and prevent stagnation.
- Address Leaks: If you notice any leaks, fix them promptly. Water sitting on surfaces can encourage mold and mildew.
Troubleshooting Cleaning Issues
Sometimes, despite cleaning, you might encounter issues. Here’s a look at KitchenAid ice maker troubleshooting cleaning:
| Problem | Possible Cause | Solution |
|---|---|---|
| Slow Ice Production | Mineral buildup in water lines or evaporator | Thoroughly descale the machine using a recommended KitchenAid ice maker cleaning solution or descaler. Ensure the water filter is clean or replaced. |
| Cloudy or Soft Ice | Mineral content in water or incomplete cleaning | Use filtered water. Ensure all cleaning and descaling steps were followed correctly. Check and replace the water filter. |
| Unpleasant Odor or Taste | Bacterial growth or residual cleaning solution | Clean the entire machine thoroughly, including all removable parts. Rinse extensively. Ensure the ice bin is kept clean and dry. |
| Scale Remains After Cleaning | Stubborn mineral deposits or insufficient descaling | Repeat the descaling process, possibly using a stronger commercial descaler specifically designed for ice machines or appliances. Allow longer soaking times. |
| Machine Not Running Correctly After Cleaning | Component not seated properly or water in sensitive areas | Ensure all removable parts are correctly reinstalled. Check that no water has entered electrical components. Refer to the manual for specific KitchenAid ice maker troubleshooting steps. |
Choosing the Best Way to Clean KitchenAid Ice Machine
The best way to clean KitchenAid ice machine is consistently following the manufacturer’s recommended procedure. This typically involves using a specialized cleaning solution or a vinegar-water mixture for regular cleaning, and a descaling solution for mineral buildup. Regularity is key – a light clean every month or two, and a deep clean/descaling every 3-6 months, depending on your water hardness, will keep your machine in top shape.
Frequently Asked Questions (FAQ)
Q1: How often should I clean my KitchenAid ice machine?
A1: For optimal performance and hygiene, it’s recommended to clean your KitchenAid ice machine every 3-6 months. If you have hard water, you may need to clean it more frequently, perhaps every 2-3 months, especially focusing on descaling.
Q2: Can I use bleach to clean my KitchenAid ice machine?
A2: No, it is generally not recommended to use bleach to clean your KitchenAid ice machine. Bleach can be harsh, potentially damage components, and leave behind residues that can affect the taste of your ice. Always stick to vinegar-based solutions or manufacturer-recommended cleaning products.
Q3: What is the best KitchenAid ice maker cleaning solution?
A3: A mixture of one part white vinegar to one part water is a widely effective and safe cleaning solution. KitchenAid also offers specific cleaning products or kits designed for their appliances. Always check your owner’s manual for the most recommended solution for your specific model.
Q4: My ice tastes funny. What should I do?
A4: An off-taste usually indicates the need for a thorough cleaning and descaling. Ensure you are using filtered water and that your water filter is replaced regularly. Clean all internal components and the ice bin.
Q5: How do I replace the water filter in my KitchenAid ice machine?
A5: The process for KitchenAid ice machine filter replacement varies by model. Typically, you’ll need to locate the filter housing (often inside the machine or near the water inlet), twist or pull out the old filter, and insert the new one until it clicks into place. Refer to your owner’s manual for precise instructions for your model.
Q6: What if I can’t remove the scale buildup?
A6: If standard cleaning and descaling don’t remove stubborn scale, you might need a more potent descaling solution specifically designed for ice machines. Ensure you follow the product’s instructions carefully and rinse thoroughly afterward. If the problem persists, it might be time to contact KitchenAid customer support or a qualified appliance technician.
By following these comprehensive steps, you can effectively clean and maintain your KitchenAid ice machine, ensuring you always have fresh, clear, and great-tasting ice. Regular KitchenAid ice maker maintenance is key to its longevity and your satisfaction.