
Image Source: i.ytimg.com
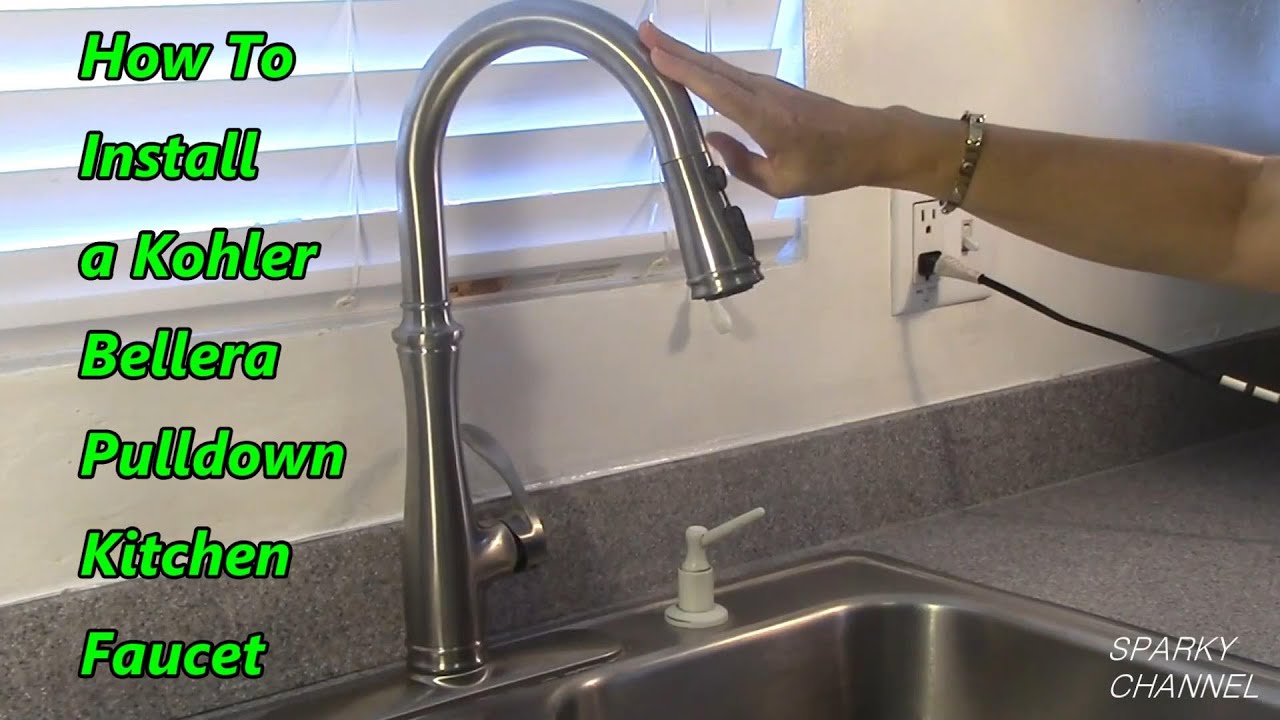
Step-by-Step Guide: How To Install A Kohler Kitchen Faucet
Can you install a Kohler kitchen faucet yourself? Yes, you absolutely can! This guide will walk you through the entire process, from preparation to the final checks.
Replacing a Kohler kitchen faucet or installing a new one is a common DIY project that can significantly update your kitchen’s look and functionality. Kohler, a renowned brand, offers a wide range of faucets known for their quality and style. This detailed Kohler faucet installation guide will make the process straightforward, even for those with limited plumbing experience.
Before You Begin: Gathering Your Tools and Materials
Successfully mounting a Kohler faucet hinges on having the right tools and materials ready. Before you turn off the water, gather everything you’ll need.
Essential Tools:
- Adjustable wrenches (two are recommended)
- Basin wrench
- Plumber’s putty or silicone sealant
- Bucket or shallow pan
- Rags or towels
- Screwdriver set (Phillips and flathead)
- Safety glasses
- Work light or flashlight
- Pipe tape (Teflon tape)
- Wire brush (for cleaning threads)
- Pliers
Kohler Faucet Parts and Supplies:
While your new Kohler faucet will come with most necessary components, it’s good to have these on hand:
- New Kohler kitchen faucet assembly
- Supply lines (often included with the faucet, but check compatibility)
- Aerator key (sometimes included, useful for cleaning)
Step 1: Shutting Off the Water Supply
This is the most crucial first step. Never attempt to work on your faucet without turning off the water.
- Locate the Shut-Off Valves: Look under your sink for two shut-off valves connected to the hot and cold water lines. These are usually small, oval-shaped handles.
- Turn Off the Valves: Turn both handles clockwise until they are firmly closed.
- Test: Turn on the old faucet to ensure the water is completely shut off and all remaining water drains from the lines. Leave the faucet handles in the “on” position to relieve any pressure.
Step 2: Removing the Old Faucet
With the water off, it’s time to dismantle the old fixture.
- Disconnect Supply Lines: Place a bucket or pan under the water supply connections to catch any residual water. Use an adjustable wrench to loosen and disconnect the hot and cold water supply lines from the shut-off valves. If you are replacing a Kohler kitchen faucet, you may need to disconnect these from the existing faucet as well.
- Remove Mounting Hardware: Look underneath the sink where the faucet base meets the countertop or sink. You’ll find nuts or mounting brackets that secure the faucet.
- A basin wrench is an invaluable tool here. Its long shaft and swiveling jaw can reach nuts in tight spaces, making this task much easier.
- Loosen and remove these nuts or brackets.
- Lift Out the Old Faucet: Once all connections and mounting hardware are removed, gently lift the old faucet assembly straight up and out of the sink holes.
- Clean the Sink Surface: Use a putty knife or scraper to remove any old plumber’s putty, sealant, or mineral deposits from the sink surface where the faucet was mounted. A clean surface is essential for a good seal with your new Kohler faucet parts.
Step 3: Preparing the New Kohler Faucet for Installation
Now, let’s get your new Kohler faucet ready to go.
- Unpack and Inspect: Carefully unpack your new Kohler faucet and all its components. Check for any damage that may have occurred during shipping. Refer to the specific Kohler faucet installation guide that came with your model.
- Assemble Faucet Components (If Necessary): Some faucet models require minor assembly before mounting. This might involve attaching the spout, handles, or deck plate. Follow the manufacturer’s instructions.
- Install Deck Plate (If Applicable): If your faucet comes with a deck plate (also called an escutcheon), this is used to cover unused sink holes. Apply plumber’s putty or silicone sealant to the underside of the deck plate to create a watertight seal. Place the deck plate over the sink holes.
- Prepare Faucet for Mounting:
- Sealing the Base: Many Kohler faucets have a built-in gasket or require you to apply plumber’s putty or silicone sealant around the base of the faucet assembly where it will meet the sink or deck plate. This is critical for sealing Kohler faucet base and preventing leaks.
- Plumber’s Putty: Roll the putty into a rope about ½ inch thick and place it around the underside of the faucet base.
- Silicone Sealant: Apply a continuous bead of silicone sealant around the underside of the faucet base.
- Thread Supply Lines: If your new faucet doesn’t come with integrated supply lines, you’ll need to attach them now. Wrap the threads of the faucet shanks with pipe tape (PTFE tape) a few times in a clockwise direction. Then, screw the supply lines onto the faucet shanks. Hand-tighten them first, then use a wrench to snug them up, being careful not to overtighten.
- Sealing the Base: Many Kohler faucets have a built-in gasket or require you to apply plumber’s putty or silicone sealant around the base of the faucet assembly where it will meet the sink or deck plate. This is critical for sealing Kohler faucet base and preventing leaks.
Step 4: Mounting the Kohler Faucet
This is where your faucet starts to take shape in your kitchen.
- Position the Faucet: Carefully lower the new Kohler faucet assembly through the mounting holes in your sink or countertop. Ensure the deck plate (if used) is correctly positioned.
- Secure the Faucet from Below:
- From underneath the sink, slide any provided washers or mounting brackets onto the faucet shanks.
- Thread the mounting nuts onto the shanks.
- Use your basin wrench or adjustable wrenches to tighten these nuts.
- Important: As you tighten, periodically check the faucet from above to ensure it’s straight and centered. You want it snug to prevent movement, but avoid overtightening, which can damage the sink or faucet. Even pressure is key when mounting a Kohler faucet.
Step 5: Connecting the Water Supply Lines
Now, we’ll connect water lines to Kohler faucet.
- Attach Supply Lines to Shut-Off Valves:
- Take the free end of the hot water supply line (usually marked red or labeled) and connect it to the hot water shut-off valve.
- Take the cold water supply line (usually marked blue or labeled) and connect it to the cold water shut-off valve.
- Use pipe tape on the threads of the shut-off valves before connecting the supply lines.
- Tighten the nuts with an adjustable wrench. Again, snug is good; overtightening can strip threads or crack fittings.
- Connect Supply Lines to the Faucet: If you attached supply lines to the faucet in Step 3, ensure they are securely fastened. If your faucet has integrated connections and you’re using new flexible supply lines, connect them directly to the faucet shanks using the appropriate fittings and pipe tape.
Step 6: Attaching the Sprayer Hose (If Applicable)
Many kitchen faucets come with a pull-down or side sprayer.
- Connect Sprayer Hose to Faucet Outlet: Locate the outlet port for the sprayer hose under the sink. It’s usually a quick-connect fitting or a threaded connection. Follow your faucet’s specific instructions.
- Attach Sprayer Hose Weight: Most pull-down sprayers have a counterweight that attaches to the hose to retract it smoothly. Clip or screw this weight onto the designated spot on the hose, typically near the lowest point of its travel. This helps ensure proper function of your Kohler faucet parts.
Step 7: Testing for Leaks
This is a critical step to ensure your installation is watertight.
- Turn On Water Supply Slowly: Partially open the hot and cold water shut-off valves under the sink.
- Check All Connections: Carefully inspect all points where the supply lines connect to the valves and the faucet. Look and feel for any drips or moisture.
- Fully Open Valves: If no leaks are apparent, slowly open the shut-off valves completely.
- Run Water Through Faucet: Turn on the faucet. Let the water run for a minute or two to flush out any debris that might be in the lines.
- Inspect Again: While the water is running and after you turn it off, re-inspect all connections under the sink. Pay close attention to:
- Where supply lines connect to valves.
- Where supply lines connect to the faucet.
- The sprayer hose connection.
- The base of the faucet for any seepage.
Step 8: Final Checks and Cleanup
You’re almost there!
- Tighten Connections if Necessary: If you find a minor drip, try tightening the corresponding connection by about a quarter turn. If the leak persists, you may need to shut off the water again, disconnect the line, reapply pipe tape, and reconnect.
- Check Faucet Operation: Ensure the handles operate smoothly and the water flows correctly from the spout and sprayer. Test the hot and cold water mix.
- Clean Up: Wipe away any excess plumber’s putty or sealant that may have squeezed out. Clean up any water spills with your rags. Dispose of your old faucet and packaging materials.
Special Considerations: Under-Mount Kohler Faucet Installation
If you have an under-mount Kohler faucet installation, the process is largely the same, but access can be more challenging as you’ll be working entirely from below the countertop.
- Access: Ensure you have good lighting and a clear workspace underneath the sink. You might need to empty the cabinet completely.
- Mounting: The principle of mounting a Kohler faucet remains the same. The mounting nuts and brackets will be attached from below. A basin wrench is even more essential in this scenario due to the confined space.
- Sealing: Sealing Kohler faucet base is still critical. You’ll apply putty or sealant to the underside of the faucet before sliding it up into the sink opening.
- Support: For under-mount sinks, the faucet is often secured to the sink or countertop material directly. Make sure the countertop material can support the faucet’s weight and strain.
Kohler Faucet Troubleshooting Common Issues
Even with careful installation, you might encounter minor issues. Here’s a guide to Kohler faucet troubleshooting:
- Low Water Pressure:
- Aerator: The most common cause is a clogged aerator. Unscrew the aerator from the tip of the spout. Clean it by soaking it in vinegar or using a soft brush. Rinse and reattach.
- Supply Lines: Ensure the supply lines are not kinked.
- Shut-Off Valves: Make sure the shut-off valves are fully open.
- Leaking Faucet:
- Connections: Double-check all water supply connections. A loose connection is the usual culprit.
- Internal Cartridge/Seals: If the leak is from the faucet body or handle, it might indicate a faulty O-ring, cartridge, or valve seat. This is where you might need Kohler faucet replacement parts. Consult your faucet’s manual for disassembly and replacement instructions.
- Sprayer Not Working Properly:
- Weight: Ensure the sprayer hose weight is correctly installed and not obstructed.
- Hose Kinks: Check for any kinks in the sprayer hose.
- Connection: Verify the sprayer hose connection is secure.
- Faucet Swivels or Feels Loose:
- Mounting Nuts: The mounting nuts under the sink may need to be tightened.
Kohler Faucet Maintenance for Longevity
Proper Kohler faucet maintenance will ensure your faucet continues to function well for years to come.
- Regular Cleaning: Wipe down the faucet with a soft, damp cloth regularly to prevent mineral deposits and water spots. Avoid abrasive cleaners that can scratch the finish.
- Aerator Cleaning: Periodically clean the aerator as described in the troubleshooting section.
- Check for Leaks: Even if you don’t see a drip, it’s good practice to check connections under the sink every few months.
- Lubrication: For older faucets, especially those with stiff handles, a small amount of plumber’s grease on the O-rings or cartridge can help.
Frequently Asked Questions (FAQ)
Q1: How often should I replace my Kohler faucet?
A: A Kohler faucet is built to last. With proper maintenance, many can last 15-20 years or even longer. Replacement is typically due to wear and tear, damage, or a desire for an updated style.
Q2: What is the difference between plumber’s putty and silicone sealant for sealing a faucet base?
A: Plumber’s putty is a pliable, oil-based compound that forms a watertight seal. It’s traditional for sealing faucet bases. Silicone sealant is a synthetic rubber compound that creates a durable, flexible, and waterproof seal. For most Kohler faucet installations, either can be used effectively to seal Kohler faucet base, but always check the manufacturer’s recommendations. Silicone is generally more resistant to staining and mold.
Q3: Can I use flexible supply lines instead of rigid ones?
A: Yes, flexible supply lines are often easier to work with, especially in tight spaces, and are perfectly acceptable for connecting water lines to Kohler faucet. Ensure you purchase high-quality, braided stainless steel flexible supply lines that are compatible with your faucet and shut-off valves.
Q4: What if my new faucet has fewer holes than my old one?
A: If you are replacing a faucet with more holes (e.g., a three-hole faucet with a single-hole faucet), you’ll need a deck plate (escutcheon) to cover the unused holes. These are often included with single-handle faucets or can be purchased separately.
Q5: Do I need to buy special Kohler faucet parts?
A: While Kohler faucets are designed to work with standard plumbing fittings, for repairs or replacements, it’s always best to use genuine Kohler faucet parts to ensure compatibility and performance. You can usually find these parts through plumbing supply stores or directly from Kohler’s website.
Installing a Kohler kitchen faucet can be a rewarding project. By following these steps carefully and using the right tools, you can achieve a professional-looking and leak-free installation. Remember to consult your specific Kohler faucet’s manual for any unique instructions or requirements.