
Moving your kitchen appliances can feel like a daunting task. Can you pack kitchen appliances for moving safely? Yes, with careful preparation and the right materials, you can pack your kitchen appliances securely to ensure they arrive at your new home without damage. This comprehensive guide will walk you through the essential steps and provide kitchen appliance moving tips for every item in your culinary arsenal, from your trusty refrigerator to your beloved blender.
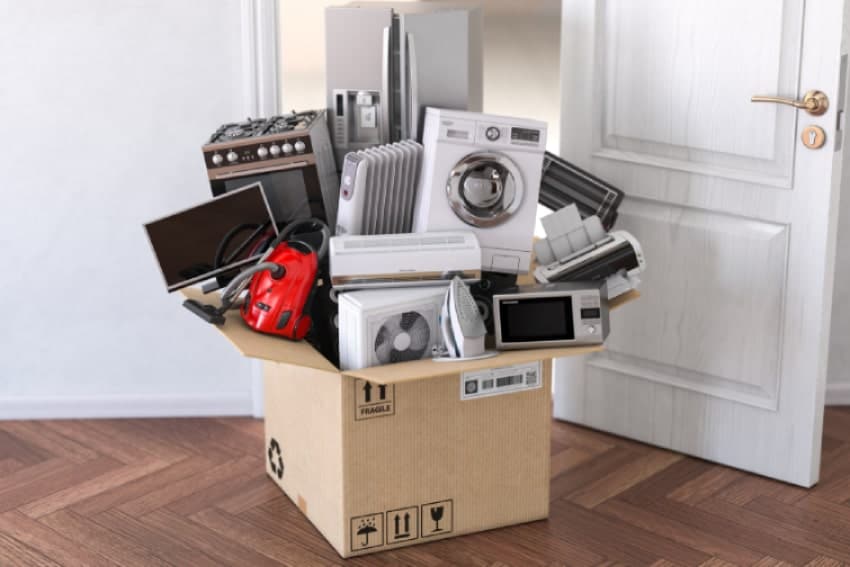
Image Source: wemovetheworld.com
Preparing Your Major Appliances: The Heavy Lifters
When it comes to kitchen appliance moving, the larger items require the most attention. Proper preparation is key to preventing damage during transit.
Packing Refrigerator for Moving: Keeping it Cool and Secure
Packing a refrigerator for moving involves more than just unplugging it. To ensure your refrigerator arrives in pristine condition and ready to cool your food, follow these steps:
- Empty and Defrost: At least 24-48 hours before your move, empty the refrigerator and freezer completely. Turn off the appliance and leave the doors ajar to allow it to defrost. This prevents water damage to the appliance and your moving truck. Clean the interior with a mild detergent and water, then dry thoroughly.
- Secure the Doors and Cords: Use strong packing tape or moving straps to secure the refrigerator doors shut. Wrap the power cord and any accessories neatly and secure them to the back of the appliance with tape or in a plastic bag attached with tape.
- Protect the Exterior: Wrap the entire appliance in moving blankets or thick, clean blankets. Secure the blankets with plastic wrap or sturdy packing tape. Pay special attention to corners and edges, which are most vulnerable to bumps and scratches.
- Use a Dolly or Hand Truck: Never attempt to lift a refrigerator on your own. Use a heavy-duty appliance dolly or hand truck to move it. Ensure the dolly is rated for the weight of your appliance and that it is properly secured to the dolly before moving.
- Transporting: Keep the refrigerator upright as much as possible during transport. If it must be tilted, do so for the shortest time possible. After arrival, let the refrigerator stand upright for at least 4 hours (or as recommended by the manufacturer) before plugging it in. This allows the compressor oil to settle.
How to Pack Oven for Transport: Safeguarding Your Culinary Centerpiece
How to pack an oven for transport requires meticulous attention to detail to protect its delicate components and surfaces.
- Clean Thoroughly: Ensure the oven is clean, both inside and out. Remove any racks, shelves, and crumb trays. These should be cleaned separately and packed as smaller items.
- Secure Internal Parts: Place the oven racks and any other removable parts into a separate box. Wrap them individually in bubble wrap or packing paper to prevent scratching.
- Protect the Surfaces: Cover the entire oven with moving blankets. Secure the blankets tightly with packing tape or stretch wrap. Pay close attention to the glass door, ensuring it is well-protected. If the oven has a glass cooktop, consider adding an extra layer of cardboard before wrapping.
- Secure the Doors: If your oven has a door that swings open, secure it with strong packing tape or moving straps to prevent it from opening during the move.
- Moving the Oven: Similar to a refrigerator, use an appliance dolly or hand truck. Ensure the oven is balanced on the dolly and strapped securely. If moving a freestanding oven, it’s often easiest to remove the oven door entirely to reduce weight and prevent accidental damage, then reattach it at the new location. Consult your oven’s manual for specific instructions.
Packing Dishwasher for Relocation: Ensuring a Smooth Transition
Packing a dishwasher for relocation involves disconnecting it and protecting its internal mechanisms.
- Disconnect and Drain: Turn off the water supply to the dishwasher. Disconnect the water inlet hose and the drain hose. Ensure all residual water is drained from the hoses and the appliance itself. A towel placed on the floor can catch any drips.
- Secure Internal Components: Remove any racks or baskets from inside the dishwasher. Wrap them in bubble wrap or packing paper and pack them in a separate box.
- Protect the Exterior: Wrap the entire dishwasher in moving blankets and secure them with tape or stretch wrap. Pay attention to the control panel and door seals.
- Secure the Door: Tape the dishwasher door shut to prevent it from opening during transit.
- Moving the Dishwasher: Use an appliance dolly or hand truck to move the dishwasher. If possible, keep it in an upright position.
Moving Small Kitchen Appliances Safely: The Little Helpers
Don’t underestimate the importance of packing your smaller kitchen appliances with care. These items, though lighter, can still be easily damaged if not packed properly.
Moving Microwave Safely: A Common Kitchen Staple
Moving microwave safely is relatively straightforward with a few key steps.
- Clean and Empty: Wipe down the interior and exterior of the microwave. Remove the turntable and any racks. Clean these separately.
- Pack the Turntable: Wrap the glass turntable in bubble wrap or place it in a small box with plenty of padding.
- Secure the Cord: Wrap the power cord neatly and secure it to the back of the microwave with tape or a twist tie.
- Box It Up: Place the microwave in its original box if you still have it. If not, use a sturdy box that is slightly larger than the microwave. Fill any empty space with packing paper or bubble wrap to prevent it from shifting.
- Label Clearly: Mark the box as “Fragile” and “Microwave.”
Best Way to Pack Blender for Move: Preserving the Blades
The best way to pack a blender for a move focuses on protecting its blades and motor.
- Disassemble if Possible: If your blender’s jar detaches from the base, do so.
- Protect the Blades: Carefully wrap the blender jar, especially the blades, in bubble wrap or thick packing paper. Ensure the blades are covered securely.
- Pack the Base: Wrap the blender base in bubble wrap or a moving blanket.
- Box Securely: Place the jar and base in a sturdy box. Fill any voids with packing material. If the jar is fragile, consider placing it inside a larger container before adding it to the box.
Preparing Toaster for Moving: Simple but Important
Preparing a toaster for moving is quite simple, but essential for its longevity.
- Clean and Cool: Ensure the toaster is clean and has cooled down completely. Remove any crumb tray and empty it.
- Secure the Cord: Wrap the power cord neatly and secure it to the toaster.
- Wrap and Box: Wrap the toaster in bubble wrap or a small moving blanket. Place it in a box with some padding, ensuring it doesn’t rattle around.
Packing Coffee Maker for Relocation: From Drip to Delicious
Packing coffee maker for relocation can vary depending on the type, but the principles remain the same: protect its delicate parts.
- Clean and Dry: Thoroughly clean and dry your coffee maker. Remove the water reservoir, coffee filter basket, and carafe.
- Pack Components Separately: Wrap the carafe and filter basket in bubble wrap or packing paper. Place them in a separate box with plenty of padding.
- Wrap the Machine: Wrap the coffee maker itself in bubble wrap or a soft cloth.
- Box Carefully: Place the wrapped coffee maker in a sturdy box. Fill any empty spaces with packing material to prevent movement.
Moving Kitchen Gadgets: The Small but Mighty
When moving kitchen gadgets, think organization and protection for small, often sharp or delicate items.
- Group Similar Items: Gather all your smaller gadgets together.
- Protect Sharp Edges: Wrap any knives or sharp items individually in thick paper or cardboard before wrapping them in bubble wrap.
- Use Small Boxes or Bags: Place smaller gadgets into sturdy plastic bags or small boxes. Fill any empty space to prevent them from moving and breaking.
- Label Clearly: Label each bag or box with its contents, e.g., “Measuring Spoons,” “Peelers,” “Graters.”
General Kitchen Appliance Moving Tips: The Universal Wisdom
Beyond individual appliance preparation, these kitchen appliance moving tips apply across the board for a smoother and safer transition.
Essential Packing Materials: Your Moving Toolkit
Having the right supplies makes all the difference. Here’s what you’ll need:
- Sturdy Moving Boxes: Various sizes, from small to appliance-specific if available.
- Bubble Wrap: For cushioning fragile parts and appliances.
- Packing Paper: A good alternative to bubble wrap for less delicate items or as filler.
- Packing Tape: Strong, reliable tape for sealing boxes and securing blankets.
- Moving Blankets/Furniture Pads: Crucial for protecting the exterior of larger appliances.
- Stretch Wrap/Plastic Wrap: To keep blankets in place and offer an extra layer of protection.
- Dolly or Hand Truck: Essential for moving heavy appliances safely.
- Rope or Moving Straps: To secure appliances to dollies and in the moving truck.
- Marker: For clear labeling of boxes.
The Importance of Cleaning Before Packing
A clean appliance is not only more hygienic but also easier to inspect for any pre-existing damage, ensuring you don’t accidentally claim responsibility for something that was already there. Thoroughly cleaning your appliances before packing also prevents the buildup of grease and food particles, which can attract pests during storage or transit.
Securing Cords and Accessories
Loose cords are a tripping hazard and can get tangled or damaged. Always coil cords neatly and secure them with twist ties, tape, or by tucking them into a designated compartment if the appliance has one. For items like mixer attachments or blender blades, bag them separately and label them clearly.
Labeling for Clarity: Know What’s Inside
This cannot be stressed enough. Clearly label every box with its contents and the room it belongs in at your new home. For appliances, consider adding “Heavy” or “Fragile” where appropriate. This saves immense time and effort during unpacking.
The Moving Day Checklist: Staying Organized
- Confirm Appliance Status: Double-check that refrigerators and freezers are defrosted and dry.
- Final Walk-Through: Before movers (or you) load the appliances, do a final check for any loose parts or securing straps.
- Load Wisely: Place heavier appliances at the bottom and front of the truck, distributing weight evenly. Secure them with straps to prevent shifting.
Frequently Asked Questions About Moving Kitchen Appliances
Here are some common queries and their answers regarding kitchen appliance moves.
Q1: Do I need to unplug my refrigerator before moving it?
A1: Yes, absolutely. You should unplug your refrigerator at least 24-48 hours before moving it to allow for thorough defrosting and to prevent any electrical issues.
Q2: Can I lay my refrigerator on its side for moving?
A2: It is best to keep your refrigerator upright as much as possible. If you must tilt it, do so for the shortest duration. After moving, allow it to stand upright for at least 4 hours before plugging it in so the compressor fluids can settle.
Q3: What if my oven has a self-cleaning feature? Do I need to do anything special?
A3: The self-cleaning cycle often leaves ash or residue. Ensure your oven is completely cool and clean after running the self-cleaning cycle, and then follow the regular packing instructions for ovens.
Q4: Is it safe to move a washing machine with the drum full?
A4: Never move a washing machine with the drum full of water or clothes. Ensure it is completely drained and clean before packing and moving.
Q5: How do I protect the glass components of my kitchen appliances?
A5: Use ample bubble wrap and packing paper. For particularly fragile items like glass oven doors or blender jars, consider placing them in a separate box with extra cushioning, or even double-boxing.
By following these detailed steps and kitchen appliance moving tips, you can ensure that your valuable kitchen appliances make the journey to your new home safely and in excellent condition. Happy moving!